One of the stupidly perplexing things about removing motorcycle mirrors is knowing which way to twist the bloody thing — whether they’re “normal” or “reverse”-threaded mirrors.
This is probably too simple for people to bother explaining it online, so I couldn’t find anything, and have had to figure it out myself the hard way! (Story of my life…)
Knowing left-handed from right-handed mirror screws is also not relevant when you’re building a bike up from scratch. But the situation we often find ourselves in is replacing a tightly fastened mirror — so we have to undo one that’s done up tightly. In such situations, you have to know which way is loosening and which way is tightening, or you might end up damaging the bolt and needing a new mirror (a surprisingly common situation for such an apparently simple fix).
In a nutshell, mirrors often (but not always) twist the “other way” to tighten so that in a crash, they’ll bend forward (towards the user) and not create another point of leverage and/or break off.
But the reality is slightly more complicated than that, so unfortunately, we have to explore it in detail.
For the purpose of this article, “normal thread” means clockwise to screw in, or “righty tighty” (go on, send me your hate mail about that mnemonic!). “Reverse thread” means counter-clockwise to screw in. But it gets gnarly as mirrors also have locking nuts which you turn in the opposite direction (e.g. a locking nut on a normal threaded mirror is counter-clockwise to tighten it). Bear with me…
Are you obsessed with motorcycles?
Well, I am. That’s why I created this site — as an outlet. I love learning and sharing what others might find useful. If you like what you read here, and you’re a fraction as obsessed as I am, you might like to know when I’ve published more. (Check the latest for an idea of what you’ll see.)
Context — A Brief Story
I recently had to replace a left-hand mirror on my Honda Hornet 900 (CB900F 919) (here are my thoughts on this bike). The reason was that I had parked it in soft dirt (my bad). The bike gently keeled over. Because of the way the mirrors are screwed in on my Hornet, rather than bend backwards, the mirror broke off at the clutch housing.
This meant I had to buy a new clutch receiver, then unscrew the mirror from the broken off bit of the old receiver, and get it into the new one.
The mirror was done up very tightly. I think it was an original mirror from over 20 years ago, as the bike doesn’t have any evidence of crash damage, and they’re Honda mirrors — most people are quick to replace mirrors with aftermarket items on cheaper bikes like the Hornet.
I gave it a copious amount of loosening lubricant, carefully inspected the visible amount of thread, and yanked it in the direction I thought was the right one. Even though I had the right direction, I had to hank SO hard with a pair of wrenches that I second-guessed myself many times. Was I ruining the current mirror? Should I just bite the bullet and buy a new pair? Never! I had a perfectly good mirror right here…
Eventually, after much swearing and confused googling, I did get the mirror out. The feeling when it came loose was like a wave of warmth washing over me. Indescribable! You know if, if you’ve ever been in a similar situation. Anyway, I secured it to my replacement clutch housing, and vowed to write this article so others wouldn’t have to go through the same inane frustration at something so apparently basic.
Identifying Reverse Thread vs Normal Thread Bolts / Mirrors (and How to Use them)
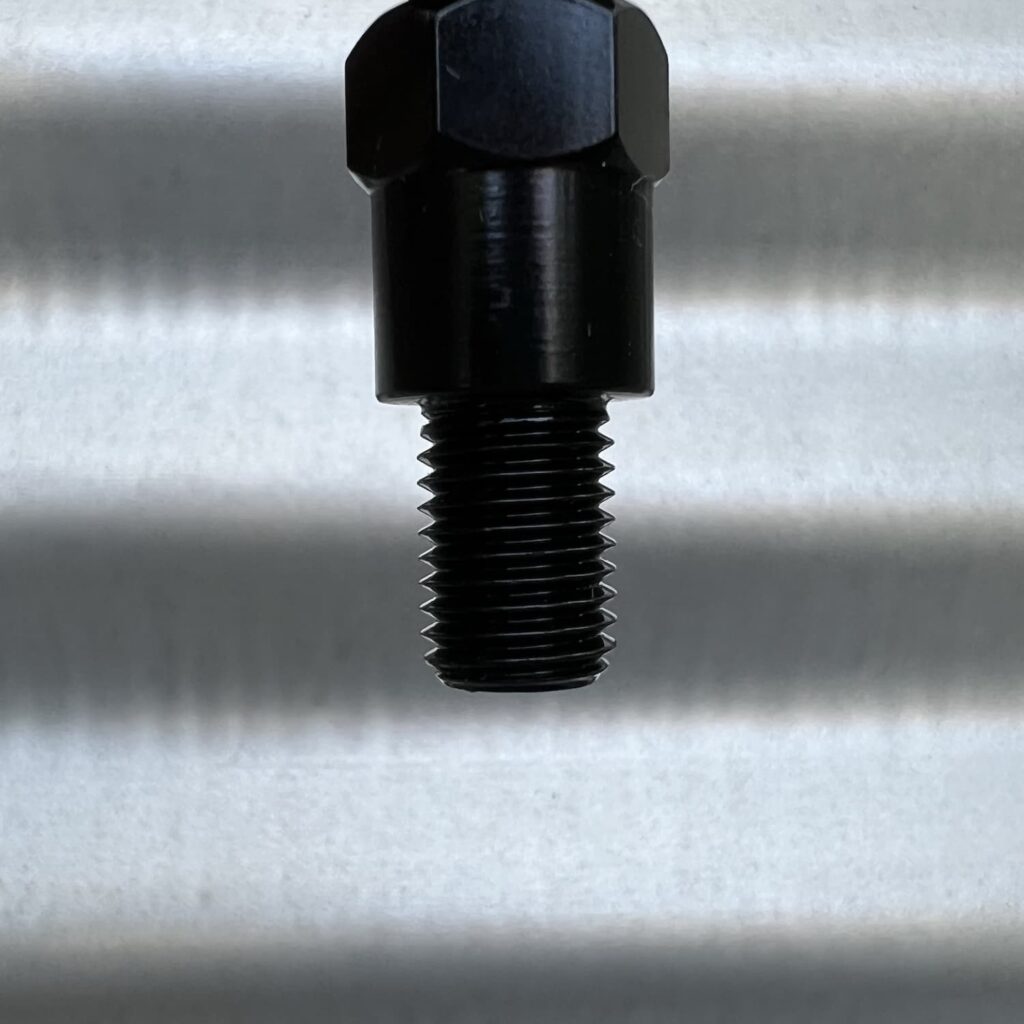
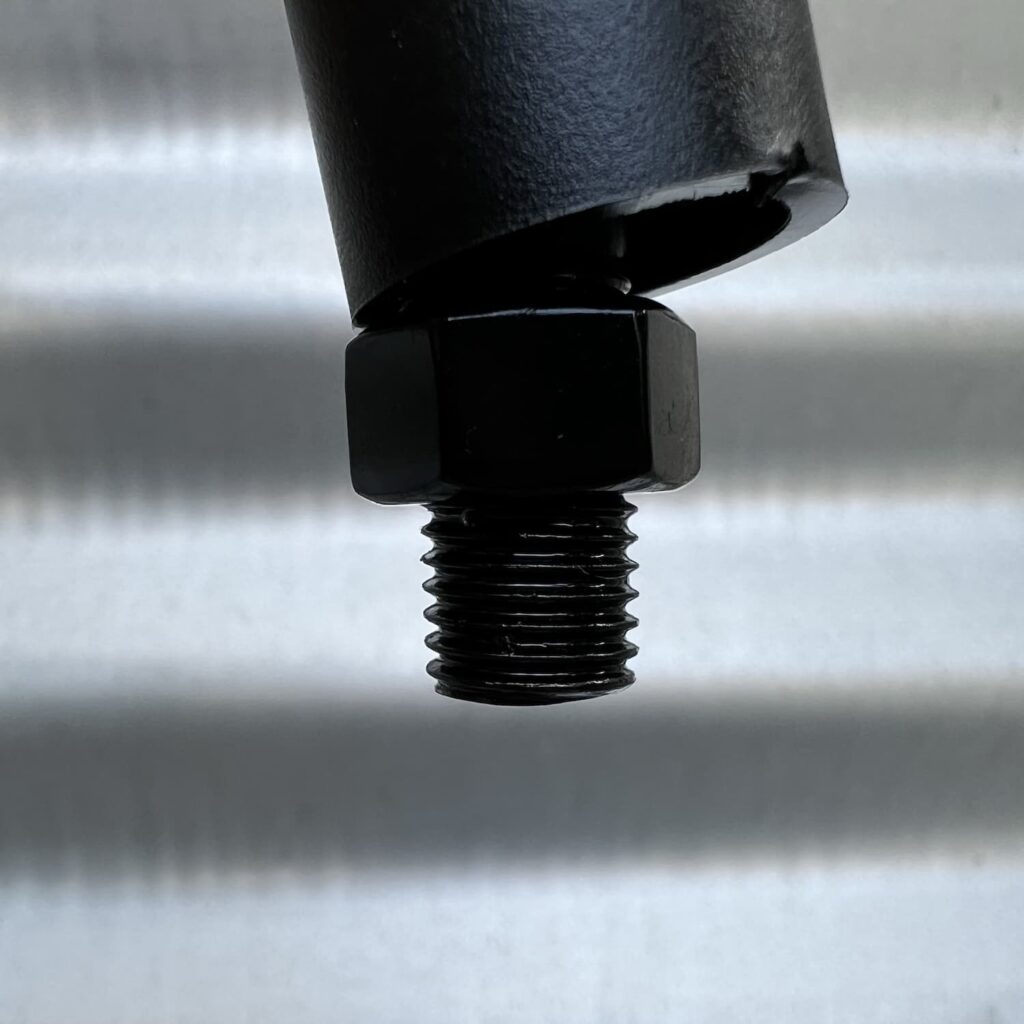
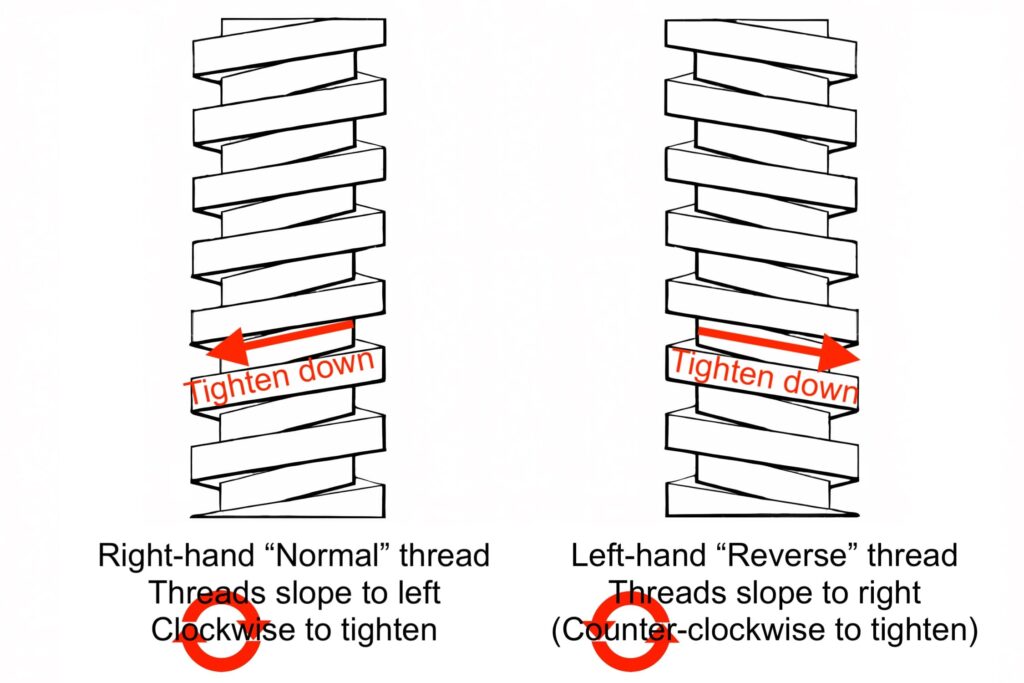
First, a quick visual aid to understand whether your mirrors are reverse threaded or normal threaded. Normally there’s a tiny bit of thread visible on a fastener — if so, you can figure out what’s going on.
A normal thread bolt, when you look straight at it (with the bit that screws in pointing downwards), has threads sloping downwards to the left. When you rotate it clockwise, you can see those thread lines moving upwards — they’re pushing against the thing they’re going into and thus the bolt is going down (tightening).
A reverse thread bolt has threads sloping to the right. To screw it in (tighten), you have to rotate it counterclockwise to make the thread lines go up.
Here’s a simple table of the scenarios you’re going to encounter.
| Thread | Normal (a.k.a. right-hand) | Reverse (a.k.a. left-hand) |
|---|---|---|
| Picture | 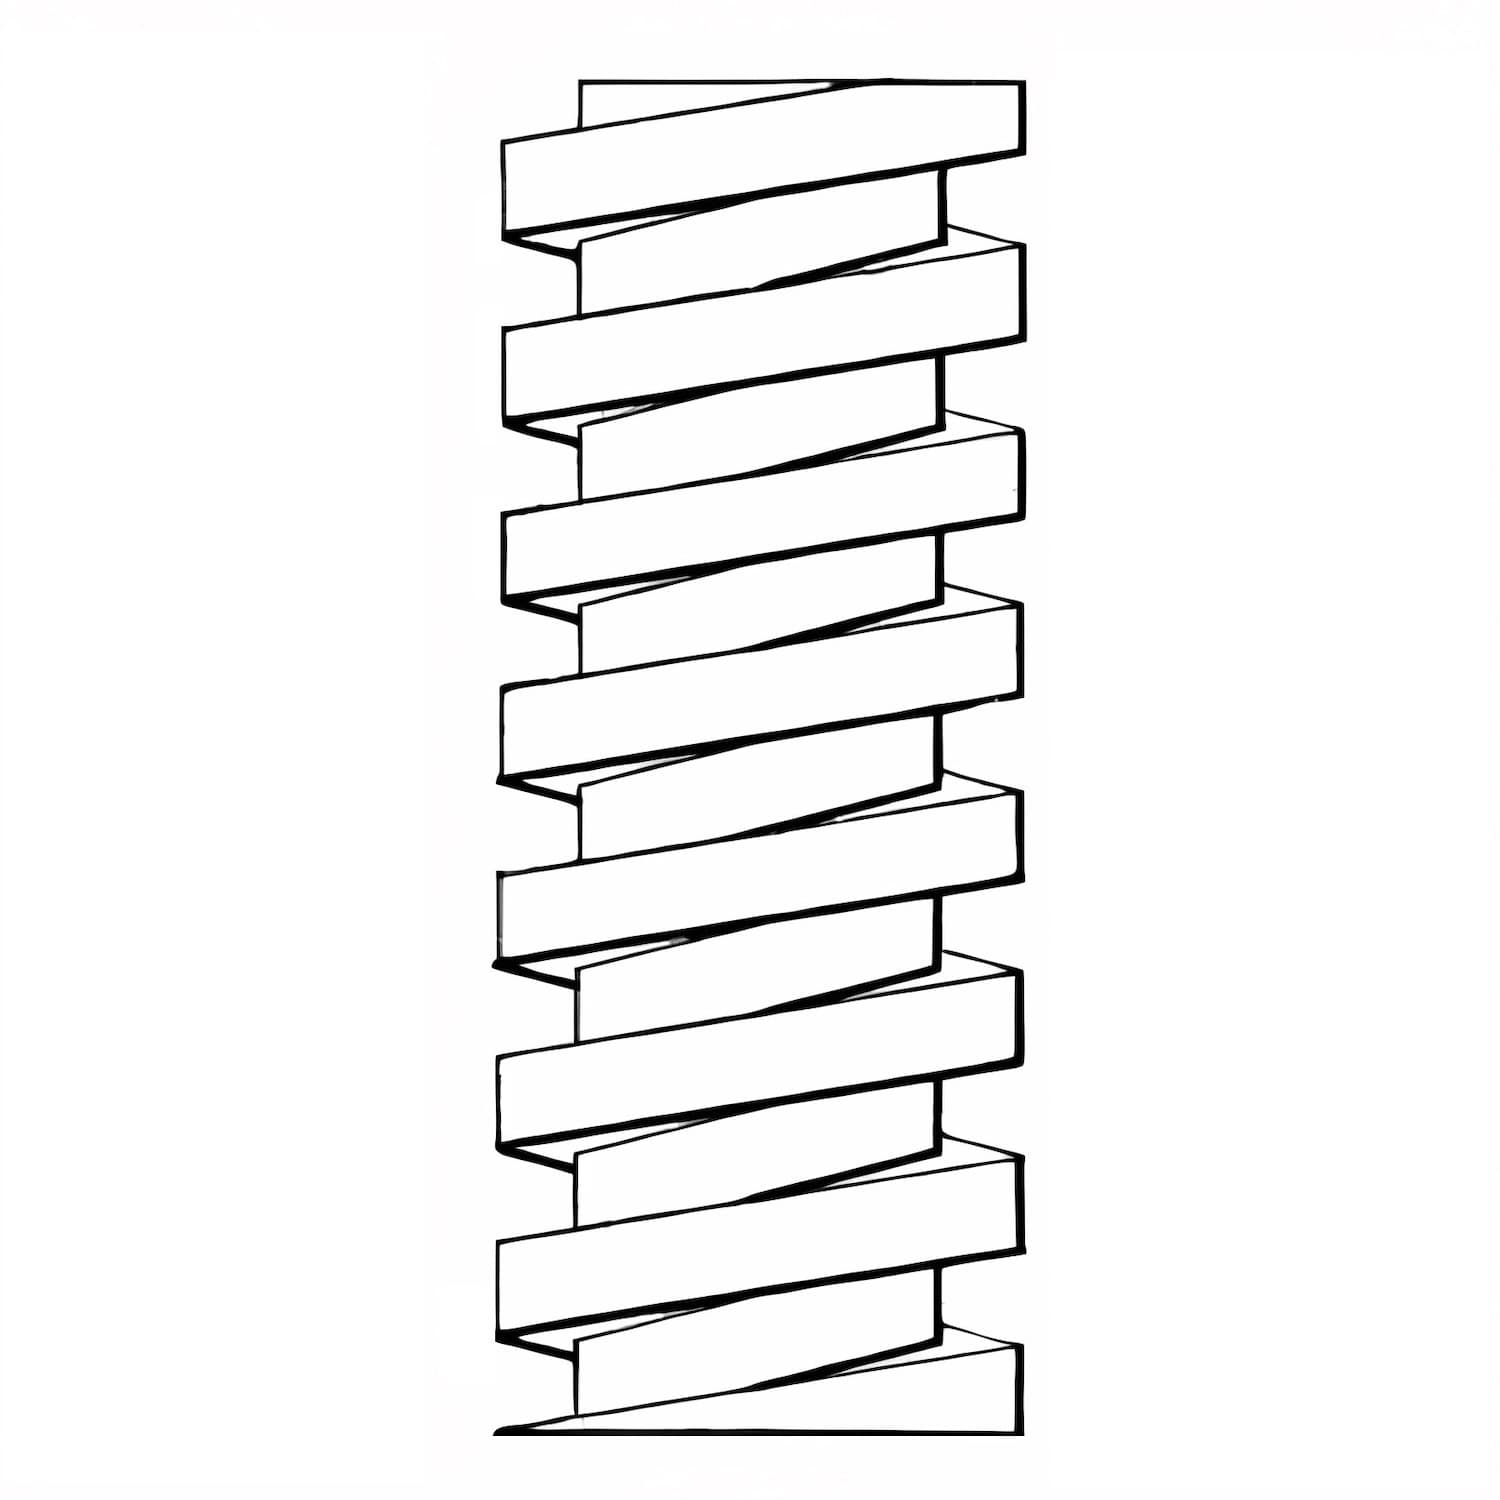 | 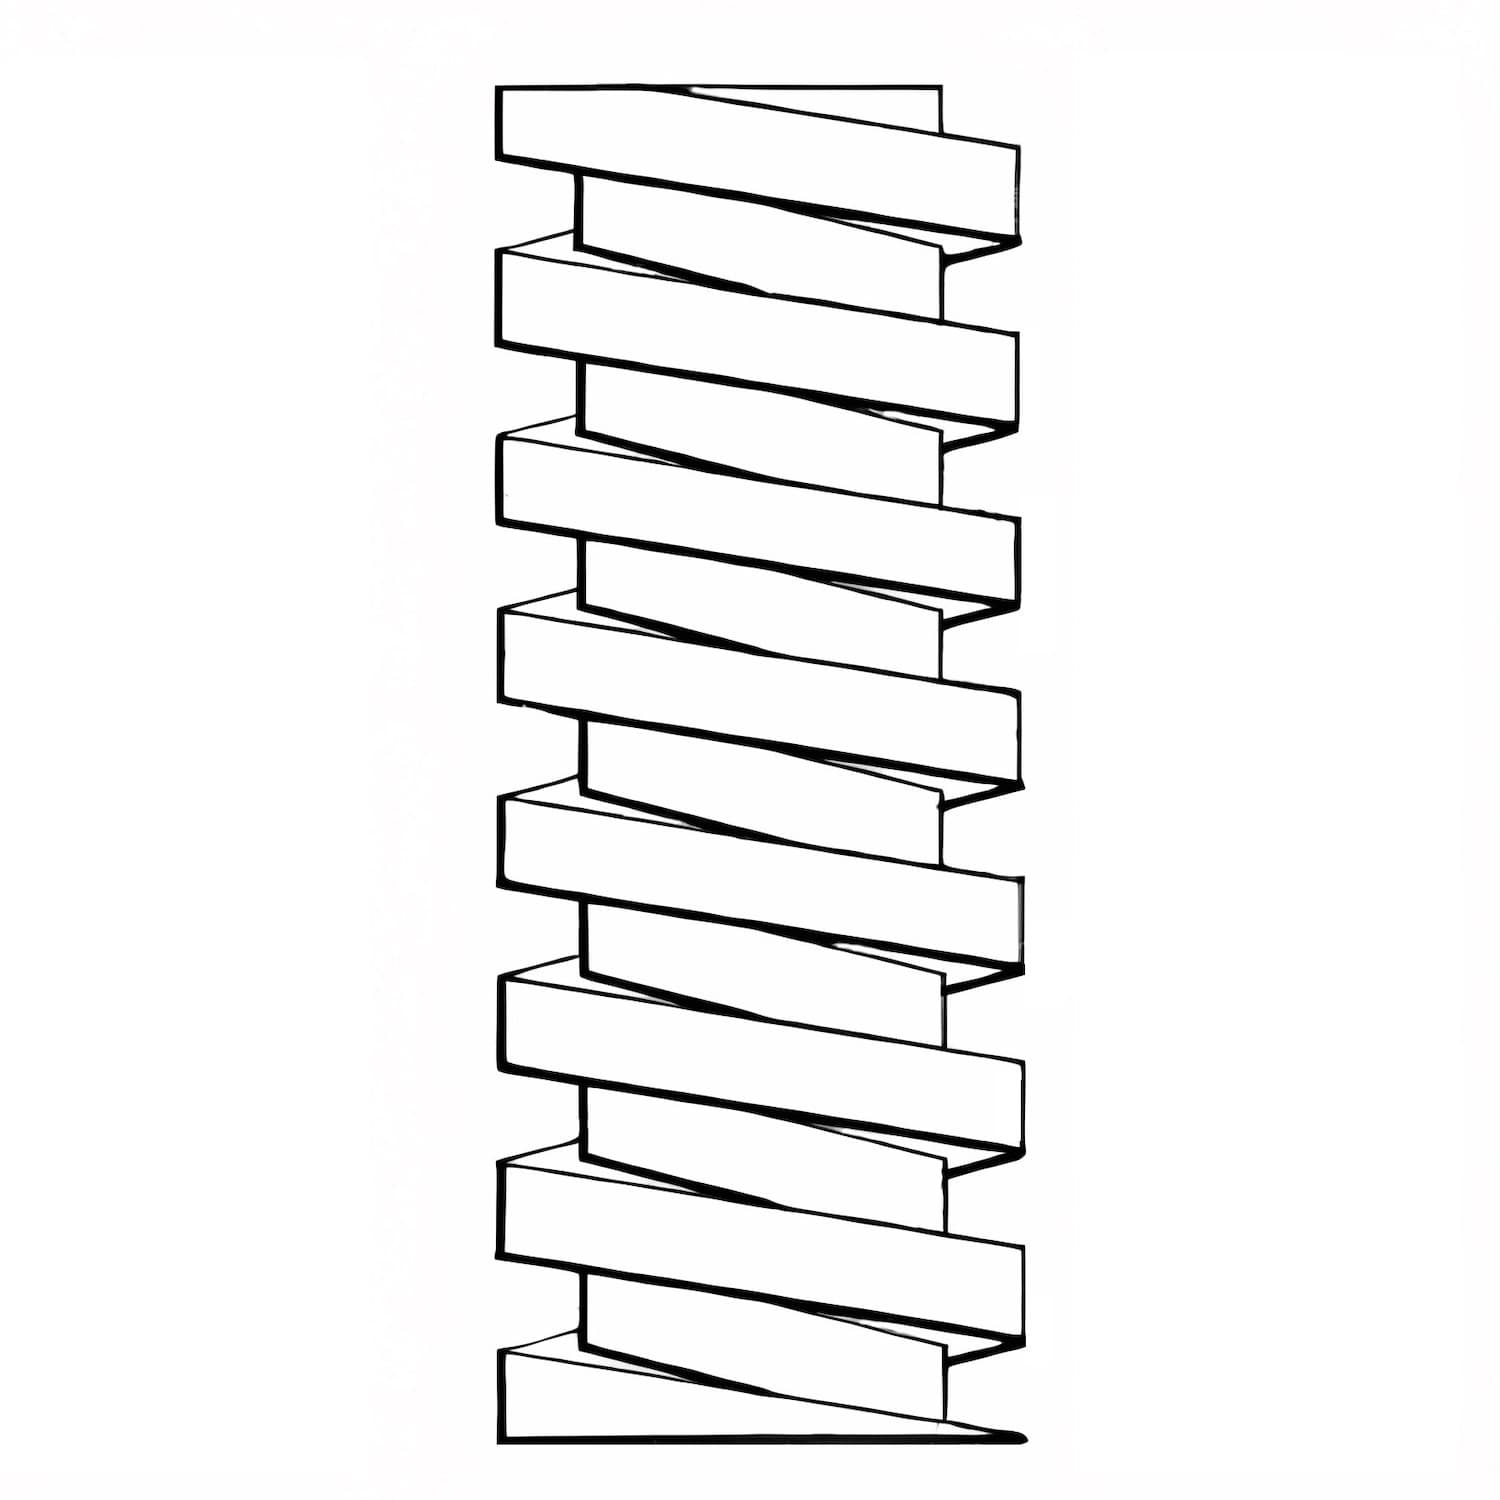 |
| Threads slope down to the | Left | Right |
| Tighten (screw down) | Clockwise | Counter-clockwise |
| Loosen (unscrew up) | Counter-clockwise | Clockwise |
| Tighten locking nut | Counter-clockwise | Clockwise |
| Loosen locking nut | Clockwise | Counter-clockwise |
Why Reverse Threads on Motorcycle Mirrors?
Knowing why the thread on mirrors may be reversed can help us understand how to undo them, so let’s look at it briefly. Unfortunately, the rules and their application are inconsistent.
On very old motorcycles, all mirrors twisted in clockwise. Ah, easier times! If you broke or scratched a mirror, you’d wind it clockwise to get it in the right position, then you’d wind the locking nut counter-clockwise to fasten it into position.
This is still the case on one motorcycle mirror on most (but not all!) modern motorcycles. But manufacturers decided to reverse the threads for two competing but logical reasons.
Most manufacturers reverse threads so that the force of the wind can’t blow the mirror in. Say your mirror is loose, and you’re also being loose with the speed limits. If both mirrors screw in the traditional way, the force of the wind can (if it’s loose) unscrew at least the left-hand mirror — but not the right one, which will be tightened by the wind.
Thus, some manufacturers make the left mirror reverse thread so that it tightens with the wind.
But some manufacturers reverse threads in the opposite way — they make it so that if a mirror is knocked by something (e.g. you’re filtering through traffic and you hit an SUV’s mirror, or you bump a garage wall) the mirror folds in towards you rather than breaking off.
If threads are such that your mirrors are locked in by the wind, then hitting a car’s mirror as you go through traffic can be disastrous — it would be like your handlebar hitting it.
Finally, some manufacturers use reverse mirrors on both sides, for reasons that nobody has explained to me. For example, Triumph (not on all models, but on many modern ones). Both sides have a reverse-thread mirror, and both sides have adaptors. This, to me, is the worst of all scenarios — it’s confusing to tinker with, requires Triumph-specific parts, and doesn’t provide consistent safety when knocking mirrors or riding into the wind.
Anyway, both of these make sense in some situations, and not in others. But if you’re like me — or most readers of this blog — then you’ll probably think “So what the heck do I have?” and gnash your teeth as you mash at the mirror, not knowing for sure whether you’re tightening it or loosening it.
How Mirror Threads are Reversed
The way in which mirror threads are reversed depends on the motorcycle. Sometimes it’s more largely the brand (e.g. Yamaha or Honda), but it might be those brands for certain periods or models.
It’d be impossible to catalogue how mirrors are installed on every motorcycle, but just to show how different it can be, the three motorcycles in my garage right now all have different setups!
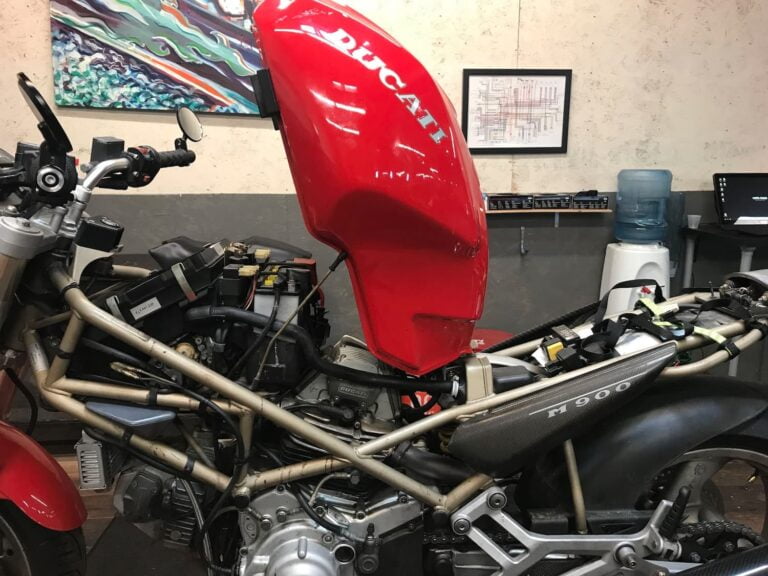
- My Ducati Monster 900, bless its cantakerous but simple heart, has a normal right-handed screw on the left hand side, and a reversed left-handed screw on the right. This means the wind can fold mirrors in, but so can a knock. This is the way I prefer them.
- My Honda Hornet 900 (also known as the 919) has two right-threaded (normal) receiving nuts on the handlebar gear. But the stock mirrors are right-threaded on the right and left-threaded on the left. The left mirror thus needs a reversing nut to fit into the socket. Bizarre, right?
- My Triumph Tiger 1050 has two left-handed threads. Both mirrors needs reversing bolts.
In short, it seems there’s no rule of thumb for which way to unbolt your mirror.
The best way is either to a) look at a pair of stock mirrors and figure it out from there, or b) do googling and get to forums where people discuss it. E.g. this list of awesome resources on the 919 on wristtwisters.com.
The worst way is to yank at it and hope you’re not ruining it — but sadly, sometimes that’s the only way!
Wrap-up: What Mirrors Should You Buy?
The hardest question to answer, if you’re in the market for new mirrors, is what to buy!
If you go look for mirror sets, generally you can find pairs of mirrors. But sometimes there’s no indication about the thread on them.
By the way, you also need to know if you have an 8mm thread or 10mm thread. This is easy to figure out if you can remove the mirrors you already have in there.
For example, these generic (and cheap and handsome) mirrors on Amazon have two right-hand 10mm bolts. There’s no adapter included if you have a left-handed socket — you need to buy that separately (this is a handy pack to have). Together, that should fit every motorcycle configuration that exists… I think.
Sometimes you can find a mirror set that comes with an adaptor or two built in, like this one.
But another thing people do is just buy some bar-end mirrors. These look cool, but come at the cost of visibility, and often add width to the bars (even a couple of inches really counts when lane splitting).
Hopefully the above has shed some light on what you need to do next — good luck, and I hope you don’t strip off those mirrors!

