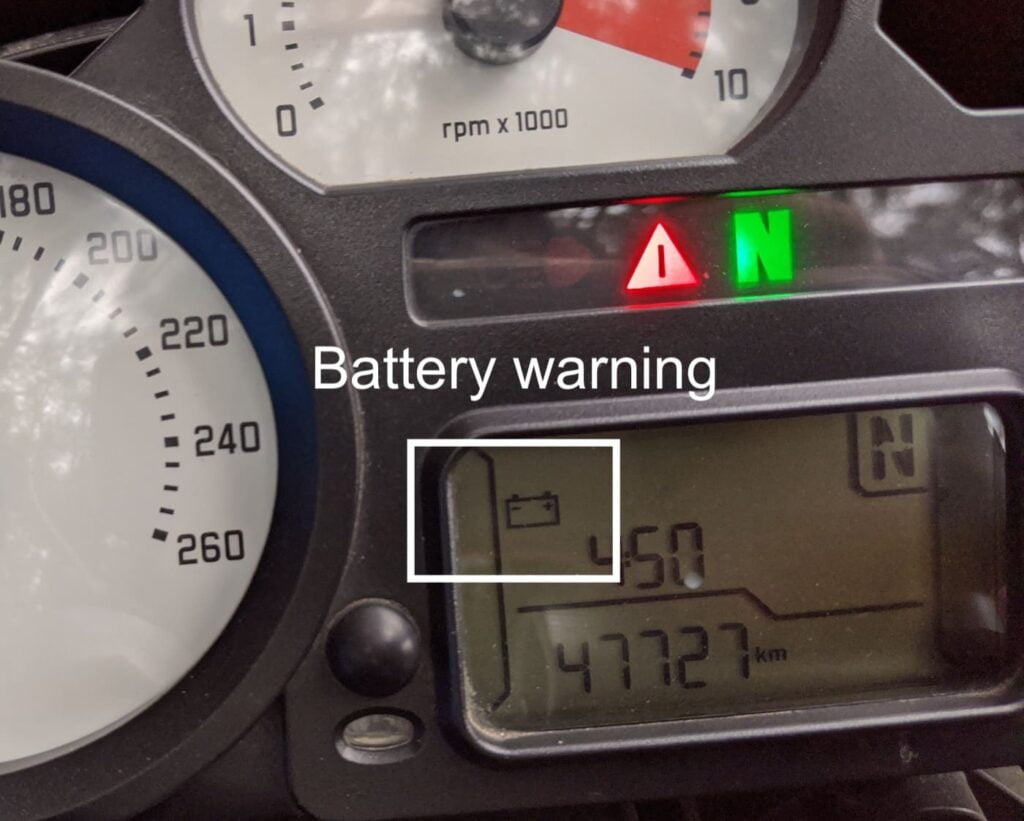
Recently I got a dreaded alert on the dash of my BMW R1200S — the battery alert. And after a bit of probing and diagnostics, I realised that I had to change my BMW R1200 alternator belt. I say R1200 because it’s the same for other motorcycles in the series — the R1200GS, R1200S, R1200R, R1200ST, and anything else.
Looking up what the battery code meant in the manual, it was clear the the charging system wasn’t working. (Interestingly, on the BMW, it doesn’t just mean that the voltage is low. The dash alert stayed lit after a charge.)
Are you obsessed with motorcycles?
Well, I am. That’s why I created this site — as an outlet. I love learning and sharing what others might find useful. If you like what you read here, and you’re a fraction as obsessed as I am, you might like to know when I’ve published more. (Check the latest for an idea of what you’ll see.)
Tools and Parts you need to change the BMW R1200 Alternator Belt
You only need three things to change the BMW R1200 Alternator Belt
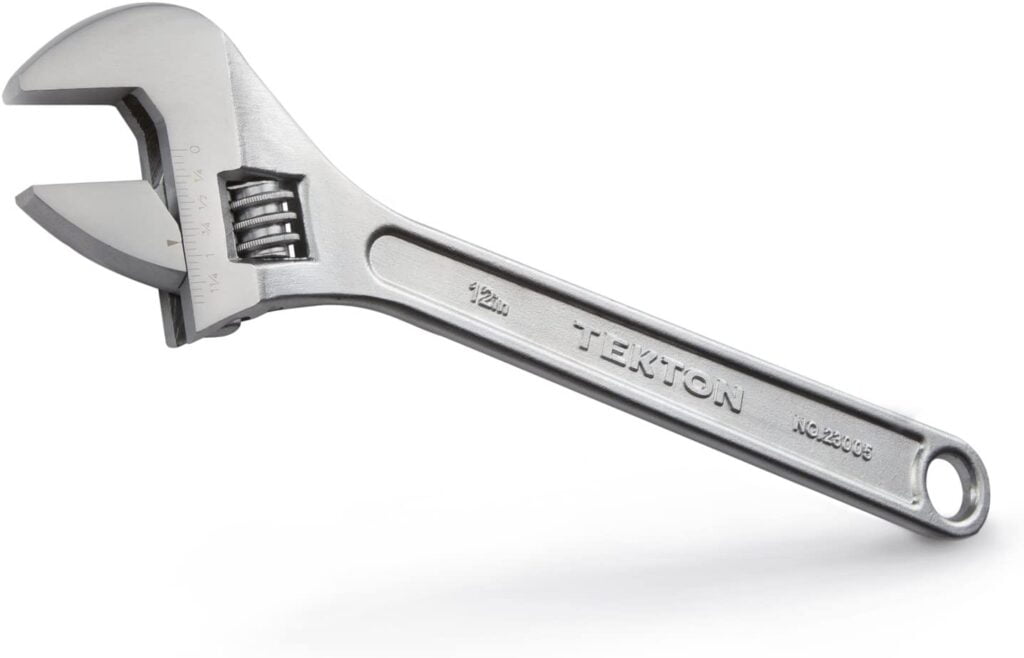
- A large adjustable wrench (or a 34mm wrench)
- The replacement BMW R1200 alternator belt
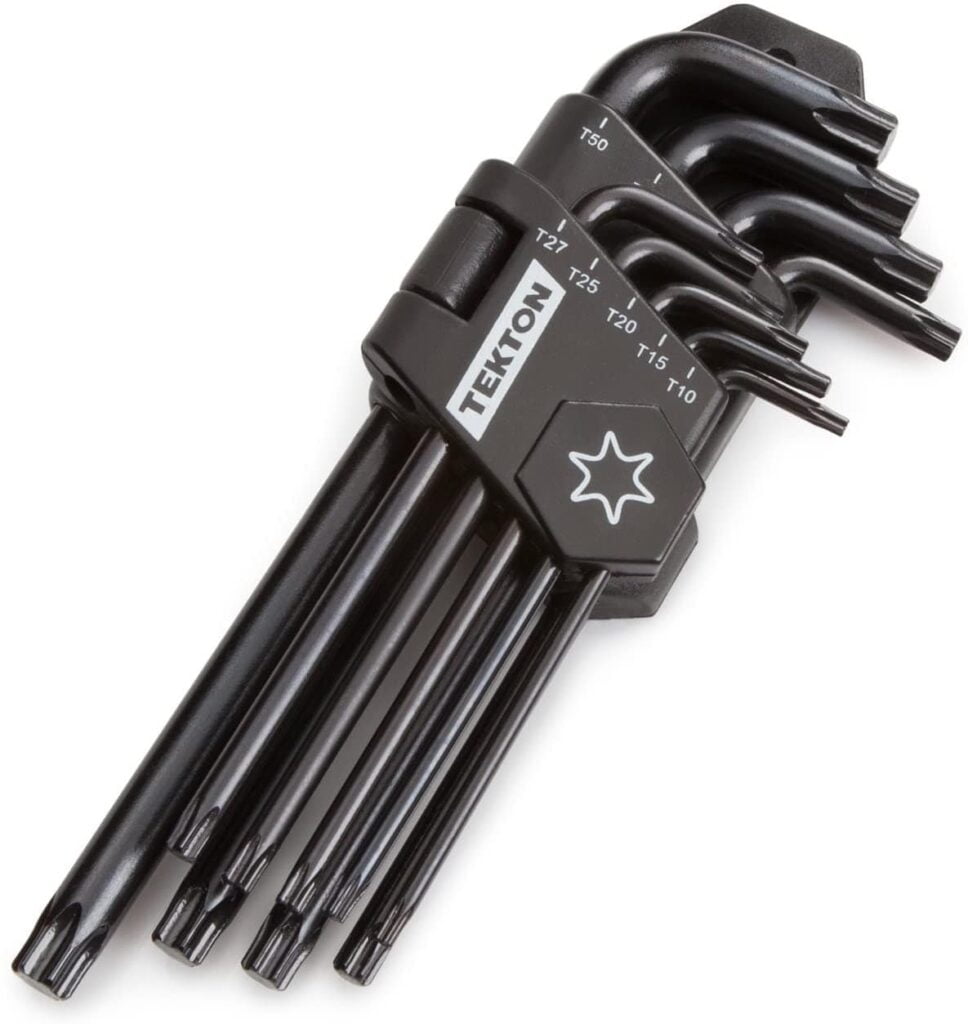
- A torx screwdriver set with T20 and T25 bits
You DON’T need a tap-and-die kit, a hex key to stick into the holes, or the special BMW alternator tool. Trust me!
You can use the adjustable wrench to get the belt on in one motion. More on how this works below.
The replacement belt itself is very common and cheap. You can typically get it from $25-35 online or from a dealer, depending on where you are in the world. Replace that, and you’re good to go. There may be some variations between years — get the one for your specific motorbike.
You also need a torx screwdriver set with T20 and T25 heads. Annoyingly, some of the five screws covering the R1200’s alternator belt are T20, and the others are T25.
How to Change the BMW Alternator Belt
Firstly, use your torx bits or screwdrivers to remove the cover.
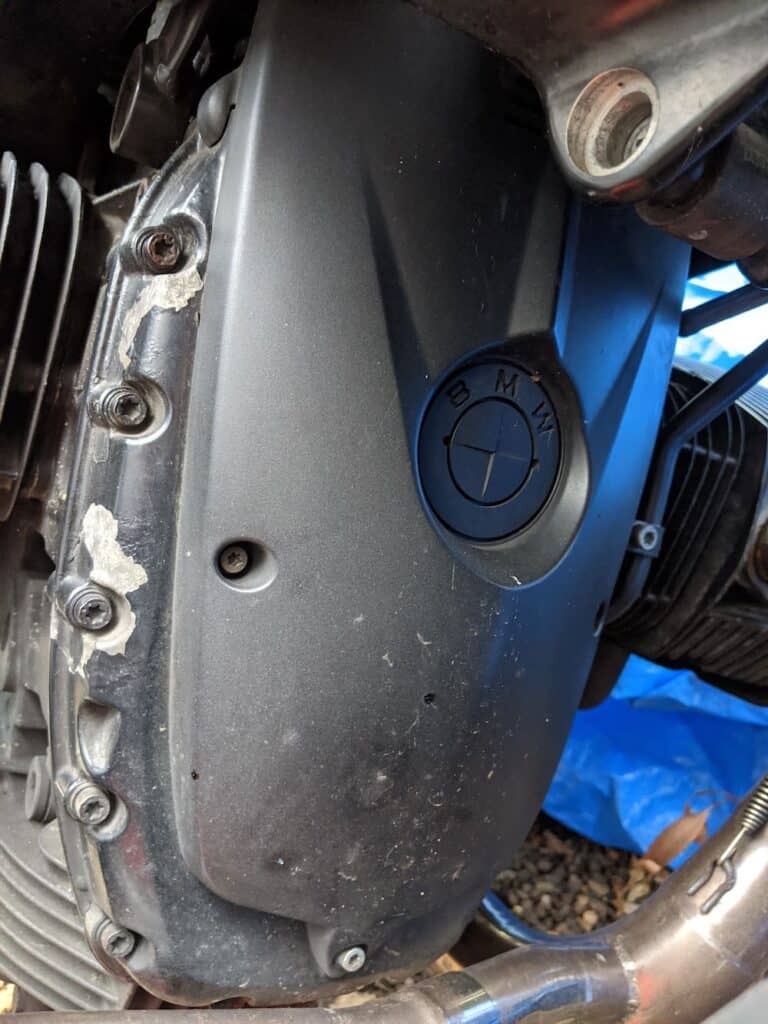
Once you’ve removed it, you have to remove the belt inside.
You can do this in three main ways
- If the alternator belt has come off, just pull it off the top pulley. Make sure you pull out any other scrap ripped up bits of belt inside the housing.
- If it’s still on, you can wedge a piece of stiff plastic into the belt and turn the alternator around with your 34mm (or adjustable) wrench. Or a socket — but a socket driver won’t work for putting on the new belt.
- You can also cut the existing belt if you don’t plan on keeping it as an emergency spare in the middle of nowhere.
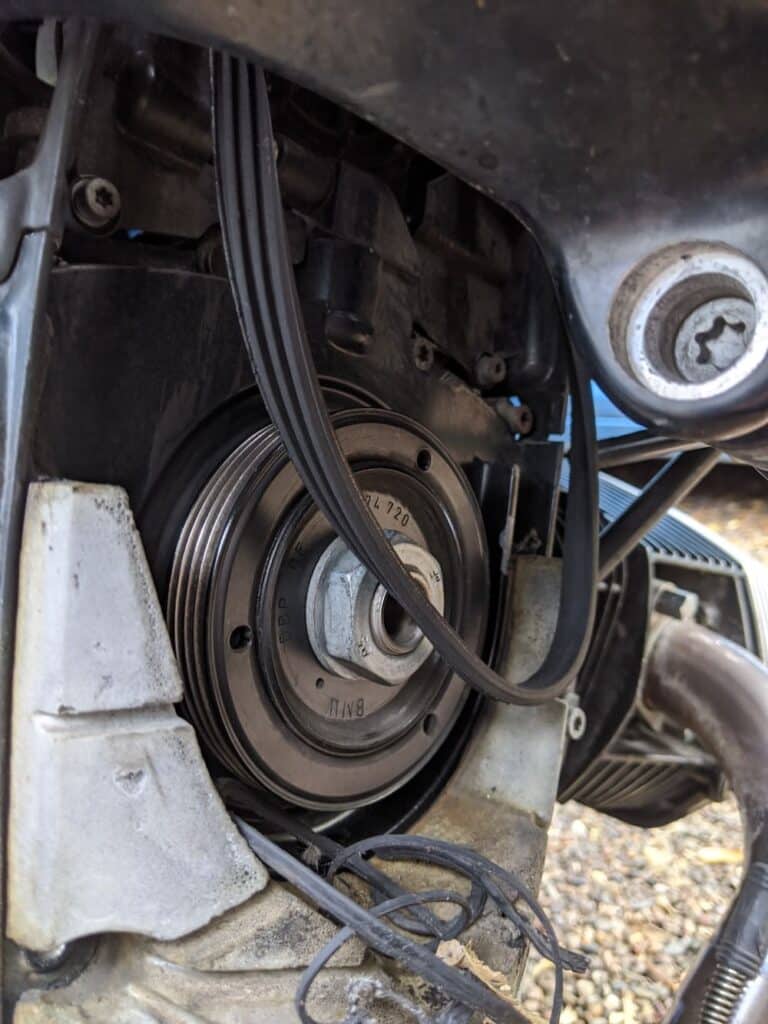
Before you put the new belt on: Check the alternator for free play. Try wiggling it. If it moves, then you have a bad bearing and you should get that replaced (probably by a professional). The alternator won’t work well, and will fail on you if it hasn’t already.
To put the new belt on all you need is a large wrench (an adjustable one will do).
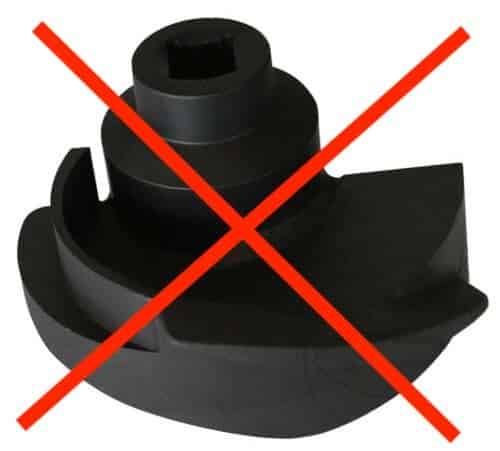
BMW recommends you use their special service tool (part 12 3 591) that costs around US$100. You absolutely don’t need this special tool. You don’t even need it if you are a BMW technician!
Some other commentators on the internet suggest putting a bolt, Allen key, or piece of metal into one of the three holes on the belt pulley. Those are ways of doing it, but they’re unnecessary steps: Just get a big wrench and turn it.
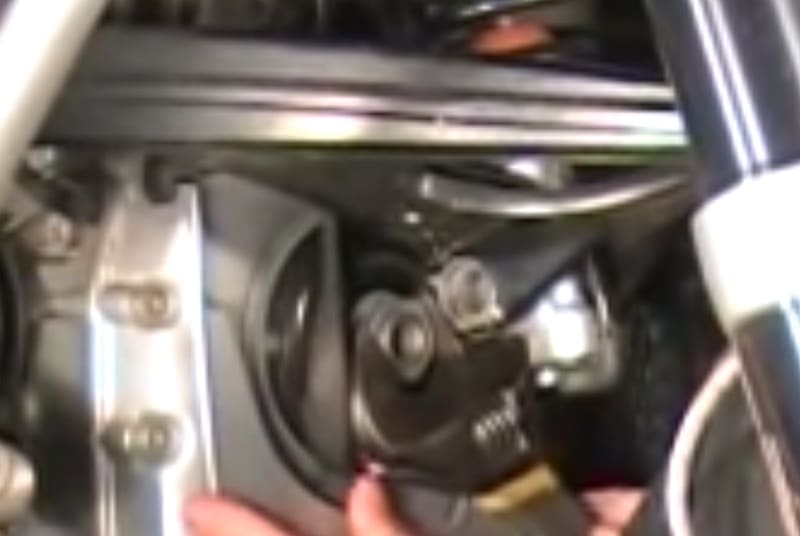
My hint doing this: hold the wrench flush with the belt. Otherwise the tension of the belt will pop it off as you turn.
Also, make sure the belt stays aligned in the correct grooves.
What can go wrong with the BMW R1200 Charging System
There are a number of reasons why the charging system might not be working:
- There might be a loose wire (quite common, especially if you’ve tinkered with the charging system), or a ground wire may have failed (which also happens if they’re loose)
- The regulator/rectifier might have failed — this is also quite common in aging bikes, as they’re subject to a lot of stress and get hot
- The battery might have catastrophically failed, or
- The alternator might have stopped working, either the coils failing or the belt connecting it failing.
In many motorcycles, the alternator is simpler than in the R1200GS — there’s usually no belt. The usual set-up is a magnetic rotor that spins inside a fixed stator coil. If the stator coil fails, it stops producing enough voltage/current to charge the battery.
The R1200GS’ charging system has one more part — the alternator belt. This is just like in a car. If the belt fails, you no longer have a working charging system.
You can read more about diagnosing motorcycle electrical faults in my full post on it here.

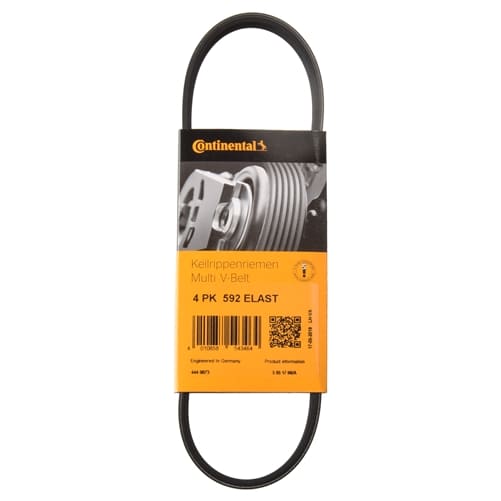


I replaced my 2008 R1200GS belt 10 years ago by putting the bike on the centre stand, removing the main spark plugs (was doing the valve clearances too), lying on the floor on the left side of the bike, turning the engine in 6th gear with my foot against the rear tyre while using my hands to guide the belt on. So, you need only the Torx bits 🙂
However my R1200S today is more difficult. No centre stand, but I used the ABBA stand instead. Using a 34mm socket this time, but the new belt is shorter than the old one, and so TIGHT! I couldn’t get it on, and I was concerned about what would happen to the alternator bearing. I put the old belt back on so I could ride today, then learned about the elastic belts (4PK592 in my case).
I’ll try again tomorrow.
Ian Black
Surprising, Ian! I didn’t find it tight. Also, my R1200S came with a centre stand and I assumed they all did. Seems like a weird thing to have on a sportbike which doesn’t even have a chain (for which the centre stand is most useful). But I found it useful!
Anyway let me know how you go.
The camhead engine has a 33mm nut. I’ve seen many posts where a 35mm is listed. Incorrect information. I purchased a 6 point deep socket 1/2 ” drive specifically for this task.