A quick log of the fun and games involved how I attempted to reupholster a motorcycle seat on my Ninja 650, including a couple of mistakes I made along the way.
I bought a Kawasaki Ninja 650 (in Australia called an ER-6F) that needed a lot of cosmetic work to get it looking nice. Part of this was repairing a hole in the motorcycle seat.
I learned a lot along the way and decided to keep some notes here for posterity as well as for anyone else doing it.
These instructions would be suitable for re-covering any simple “surfboard” style motorcycle seat, even those with a few curves like the Ninja’s seat.
Reupholstering the motorcycle seat was quite an adventure! The main resources I used was this guide from Revzilla’s Common Tread blog, though I did consult a few other YouTube videos in the process.
Are you obsessed with motorcycles?
Well, I am. That’s why I created this site — as an outlet. I love learning and sharing what others might find useful. If you like what you read here, and you’re a fraction as obsessed as I am, you might like to know when I’ve published more. (Check the latest for an idea of what you’ll see.)
General overview of the reupholstering process
Here are the steps, just so you’re ready.
- Remove the seat from the motorcycle. This should be really easy, but I’ve had motorcycles on which it’s hard (e.g. sport bikes, where you have to basically remove the entire top half of the bike, then access the bolts for the seat from underneath)
- Take off the old vinyl. This is fast and fun! Out with the old!
- Measure out your new fabric, cutting it roughly into shape. Easy and fast.
- Stretching out the fabric to reupholster the motorcycle seat and staple it down. THIS IS HARD. You need extra vinyl because if it’s your first time, and/or if the seat is a weird shape, it’s easy to screw up.
- Re-install the seat. Quick, hopefully.
While I said stretching out the fabric is hard, it’s not technically hard. It’s just fiddly. I’m the kind of person who breaks things and knocks them over, and I still got it done satisfactorily.
It will take you a couple of hours, and considering it only costs $200 roughly (more or less, depending on where you live and the seat) to reupholster a motorcycle seat professionally, you might want to do that if you don’t think it’s worth your time.
Tools you need to reupholster a motorcycle seat
The tools you need to reupholster a motorcycle seat are:
| Picture | Item |
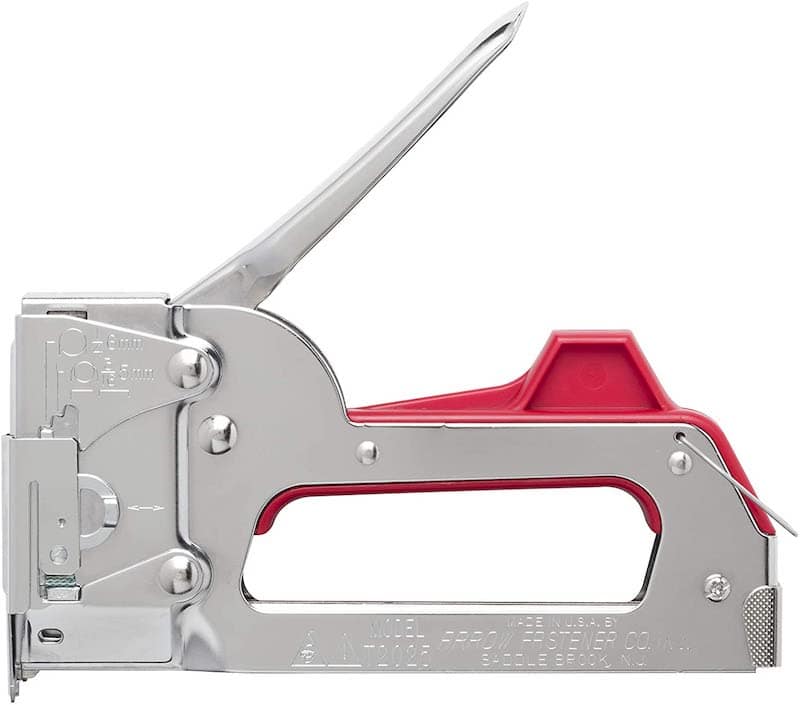 | A staple gun (a hardware store kind) ($20-30). Buy some staples too. You don’t need an electric one (unless you suffer from an impairment) |
 | Marine-grade vinyl (by the yard), 6 feet/2 metres – about $20-30 for 2 metres / 6 feet. You’re looking for “marine vinyl” or “marine-grade vinyl”, which means it’ll be waterproof. |
| Pliers to remove the old staples | |
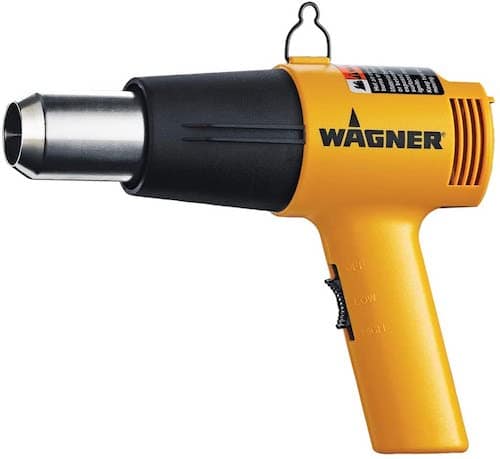 | A heat gun! Or a hot air gun if you can’t be bothered digging it out (works almost as well, but you might burn it out from overuse) |
You do not need glue. I’ve seen some guides that suggest you need glue to adhere the fabric to the foam.
I think it’s short-sighted to use glue if you’re a first timer, because you might screw it up. If you have to remove the vinyl and do it again, glue will make things messy.
Also, it’s super important to stretch out the folds. Glue gives you a false sense of “hey it’s sticking down” and then you might end up with a wrinkly seat cover.
(Mind you, if you use a light craft adhesive, it should be easy to pull off — pro upholsterers can feel free to overrule me.)
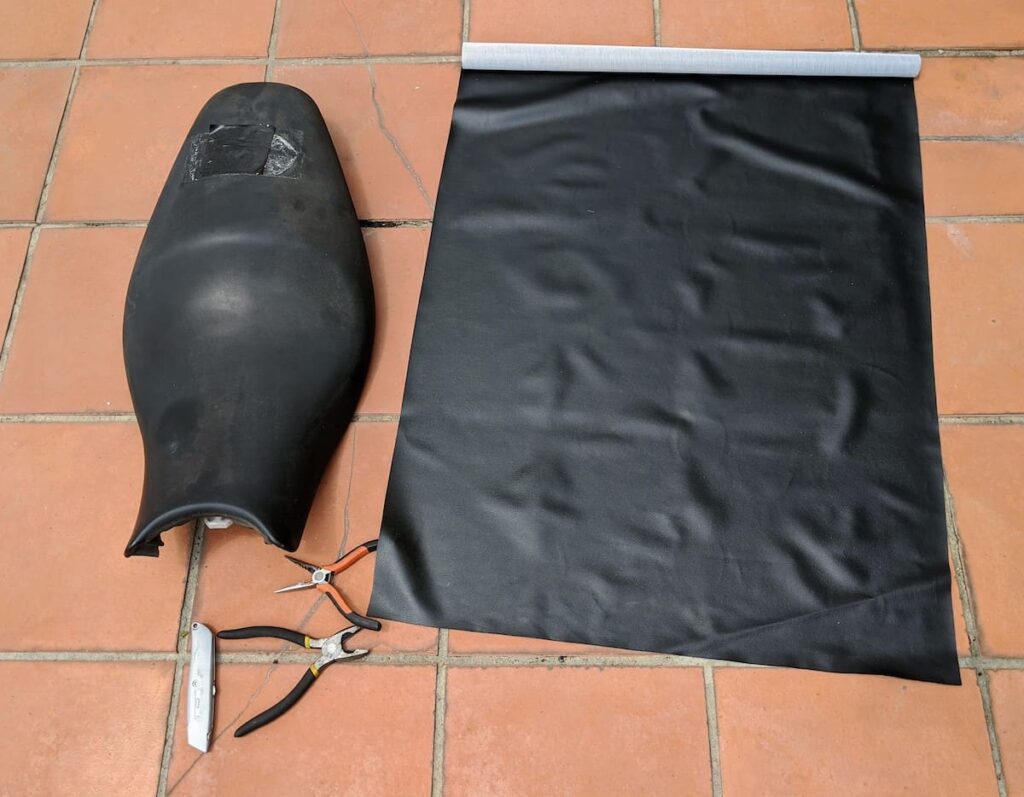
The picture below was the original Ninja 650 motorcycle seat. It had a huge hole in the seat that the previous owner had covered with duct tape. It also had a number of stains. I might have caused one or two of them when cleaning the motorcycle with my cleaners (it was really dirty!)
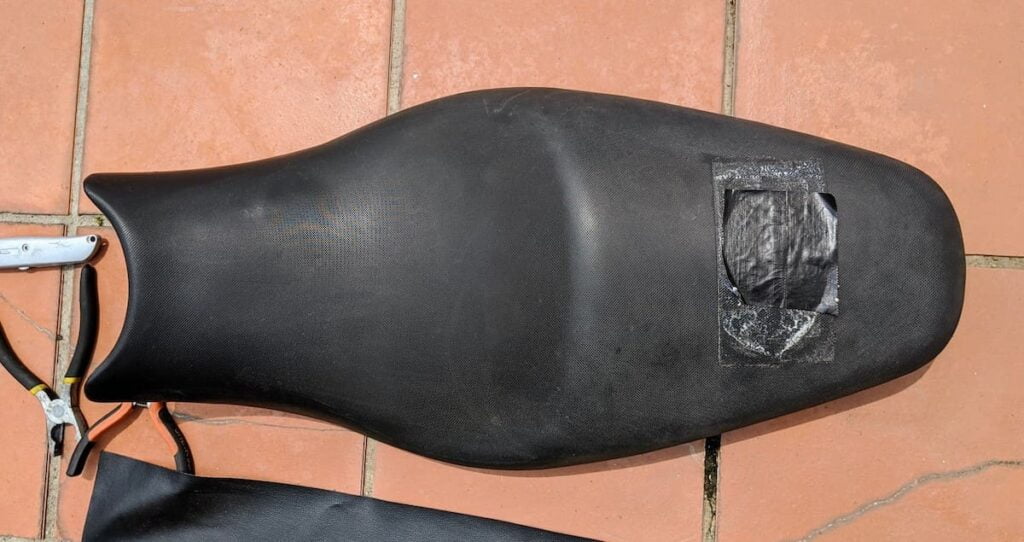
I removed the first staples with pliers. I pulled the first ones out, then used the weight of the vinyl fabric to rip out the rest of the staples with my hands.
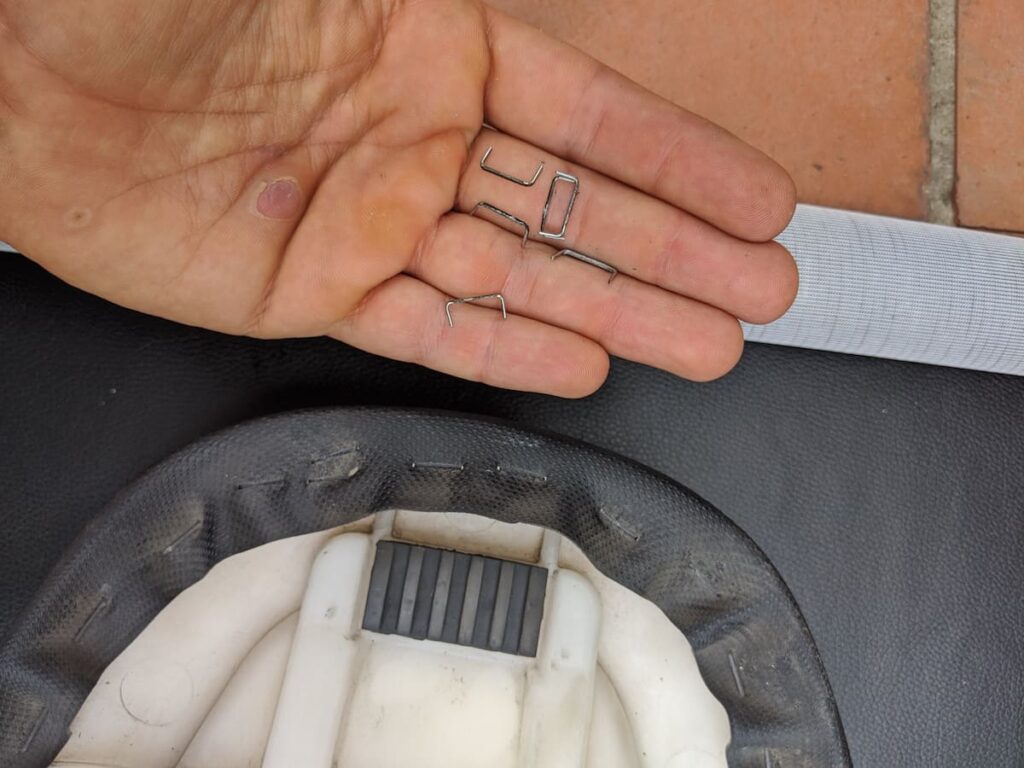
It took about 10 minutes to properly pull out all the staples and leave the motorcycle seat naked.
This is the naked Ninja 650 motorcycle seat — just the foam.
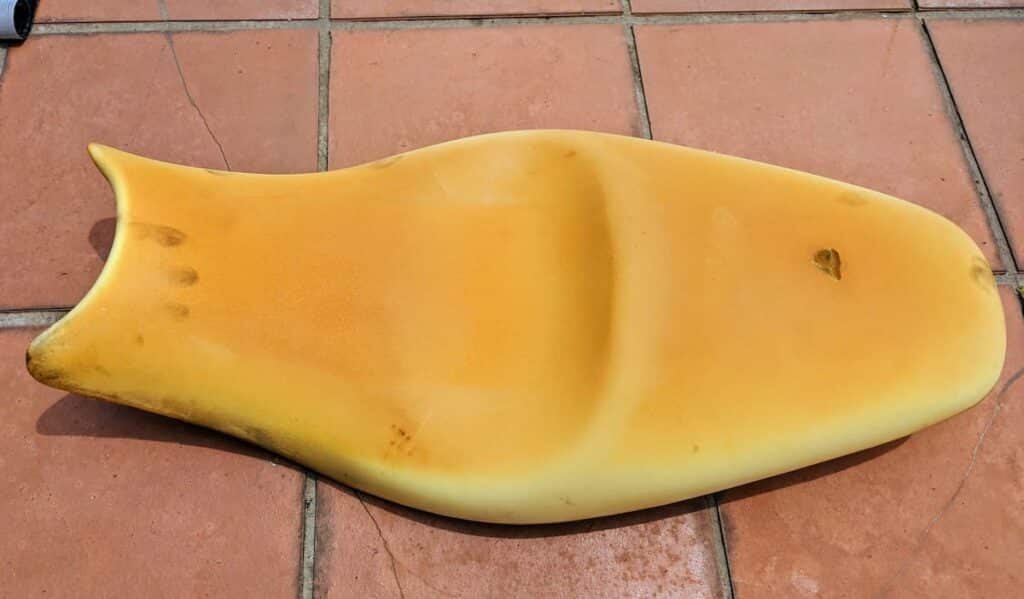
To reupholster it, I followed procedures I found on a number of corners of the Internet. The procedure below didn’t work.
- I fastened the front and the back (mistake)
- I didn’t use glue (some sites said to, some didn’t, and the original didn’t) — correct
- I tried to stretch the fabric over the sides, once the sides were fastened. (but I didn’t stretch enough)
This didn’t work.
This is after my first attempt to reupholster it.
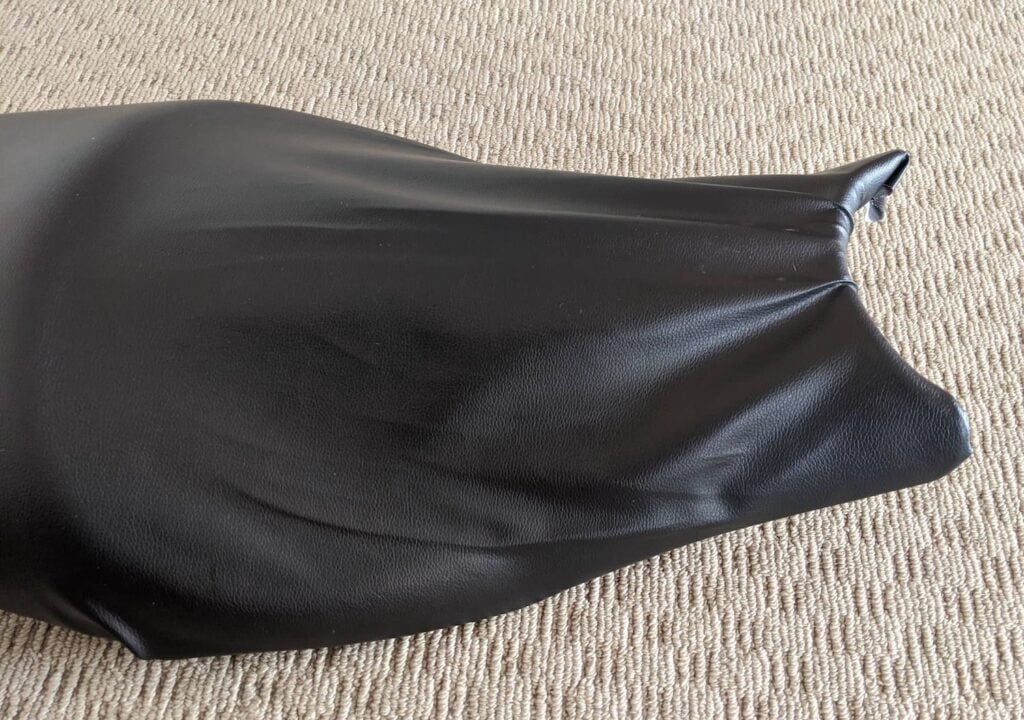
The main mistake I made in this step was to not use a hot air gun or hair dryer.
Second time around — these steps worked. I’d encourage you to follow these.
- I kept it fastened just on one end. The end I had it fastened on was the more elevated one.
- I pulled it taut around the sides.
- Then, over the ridge, I started using a hair dryer to really loosen up the vinyl before pulling it tight. I pulled each side tight until I had zero creases running along the edge.
- I set holding staples along the way, but not as many as I’d need long-term.
- Finally, I stapled it around the top, and then re-stapled everywhere to keep the whole thing tight.
Why’d I use a hair dryer? Turns out that my hot air gun was 110V and I had left America to the rest of the world that (nearly all) uses 220-240V. Sad face. They’re not expensive, but it was inconvenient. However, I don’t recommend using a hair dryer because you might melt it from leaving it on for ages and getting all close to the plastic… many cheap hair dryers may not have adequate ventilation.
Here’s the final product.
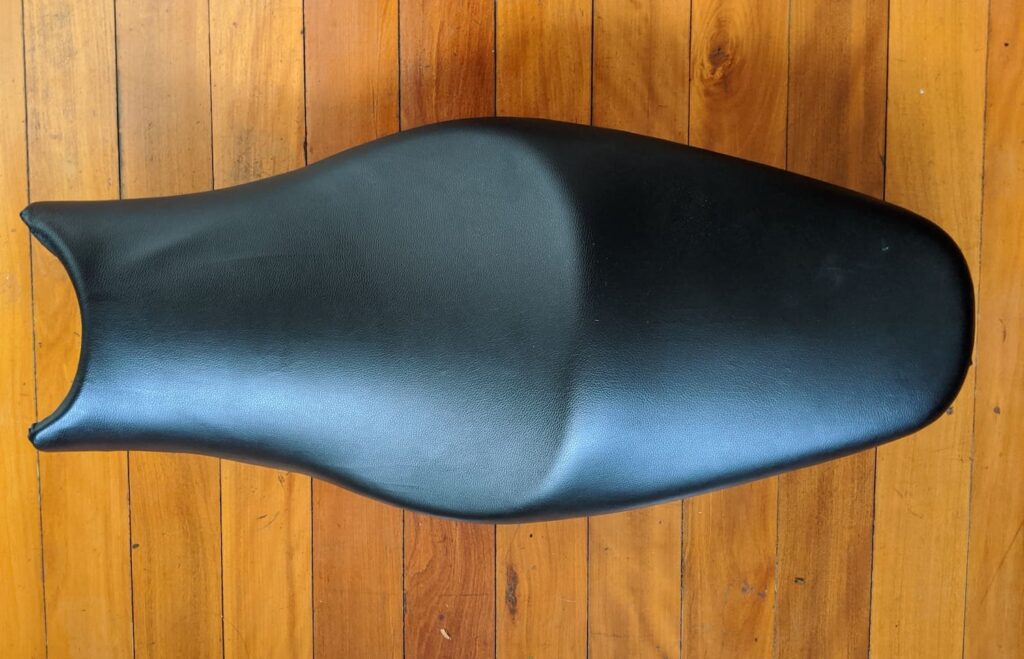
Looking much better. Not perfect — there’s a slight ridge on the top left you can see. But a HUGE improvement.


Nice! Good to include the failure stage. Which staple gun did you use? I have a spring Bostitch, and even on the strongest setting it will only drive 1mm into the seat pan!
Maybe try shorter staples?
They have sharpened staples .. Also use 2 hands to hold stapler down…if it bounces up staples won’t go in
I think I had a generic one from a hardware store – no special brand.
Ive never seen people say that! Maybe you have a special seat, or maybe the gun is faulty. I’ve used a few so have a feel for them now. They can drive a staple into wood of medium to hardish density (their normal use) – can yours?
Great article, thanks for the useful info. I will be attempting this soon.
Great Article. Figures I find this AFTER I just bought a used one for the Tuono.
Take Care
I have the same issue with my stapler. It’s a decent one but for whatever reason my 2000 ZX12 seat is like diamond level hard. I can’t get a staple into it at all.