I’ve seen a few guides for LED conversions, but the following are my own photos and notes from my Hayabusa LED light in case you find it useful.
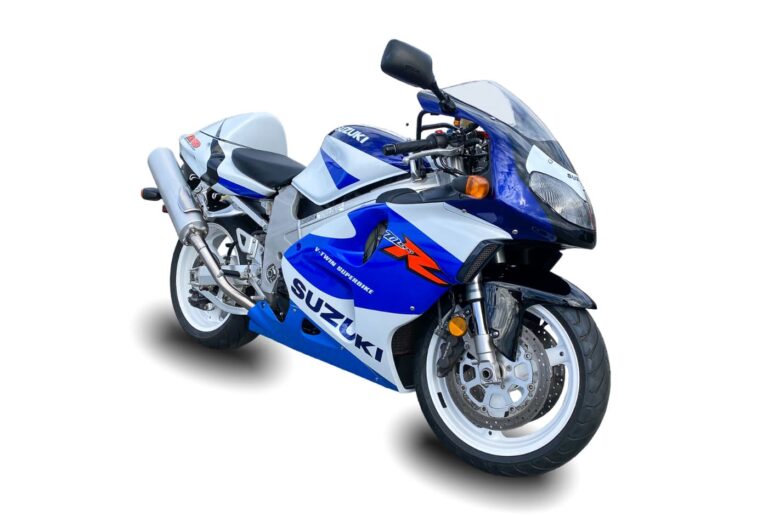
This is for changing the lights on a Gen 2 Hayabusa. It’s pretty similar to a Gen 1. But it’d be redundant for a Gen 3 as they’re already equipped with LED lights.
This is a guide for changing both the headlight and high beam, and the position (parking) lights.
Special thanks to Tony Luck of the Australian Hayabusa Club, who’s as helpful as imaginable. He also runs a fairly active Facebook group (though I’m trying to stay off FB for now).
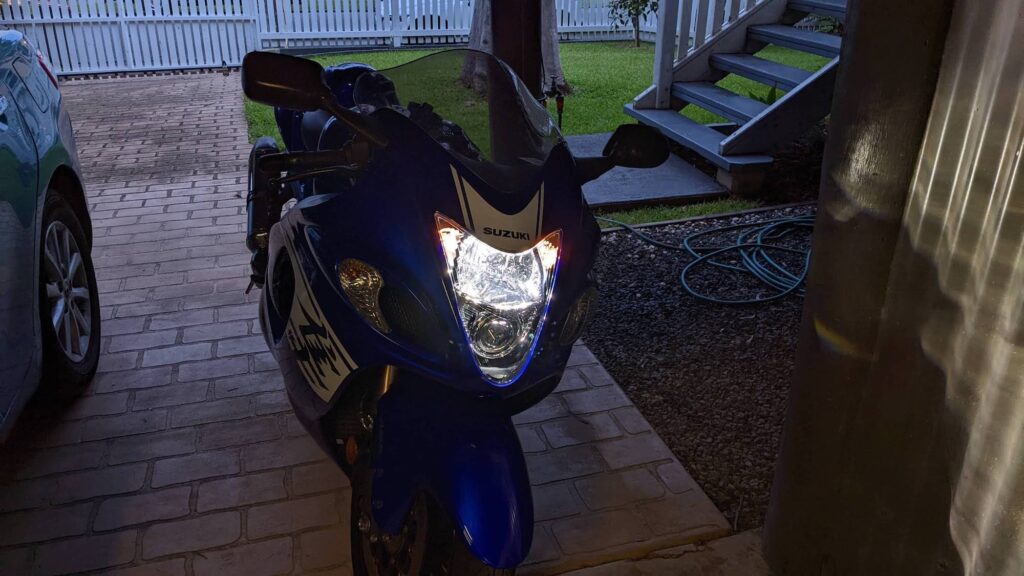
Here are before and after photos of the LED conversion on my Hayabusa.
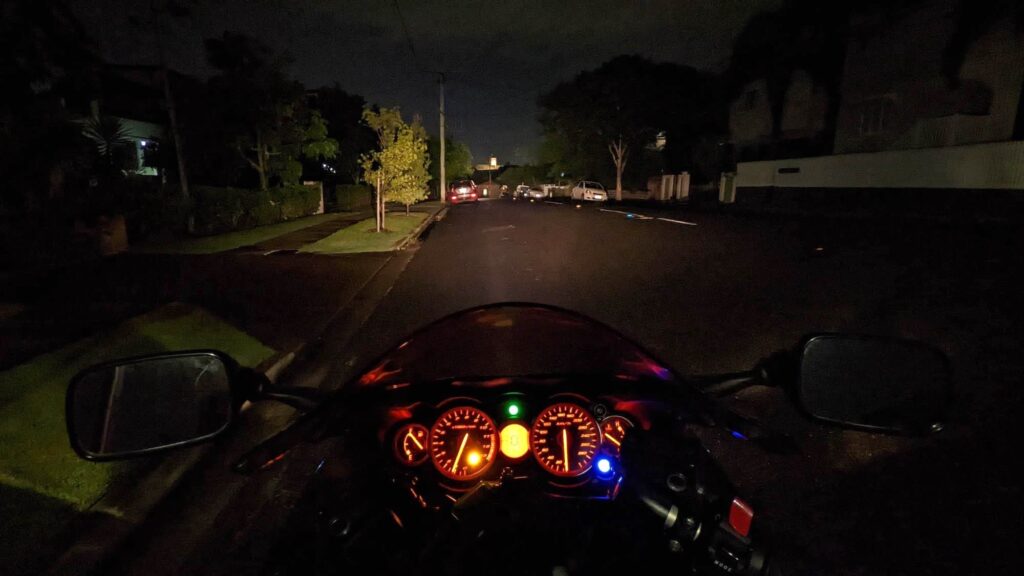 Standard bulbs (high beam)
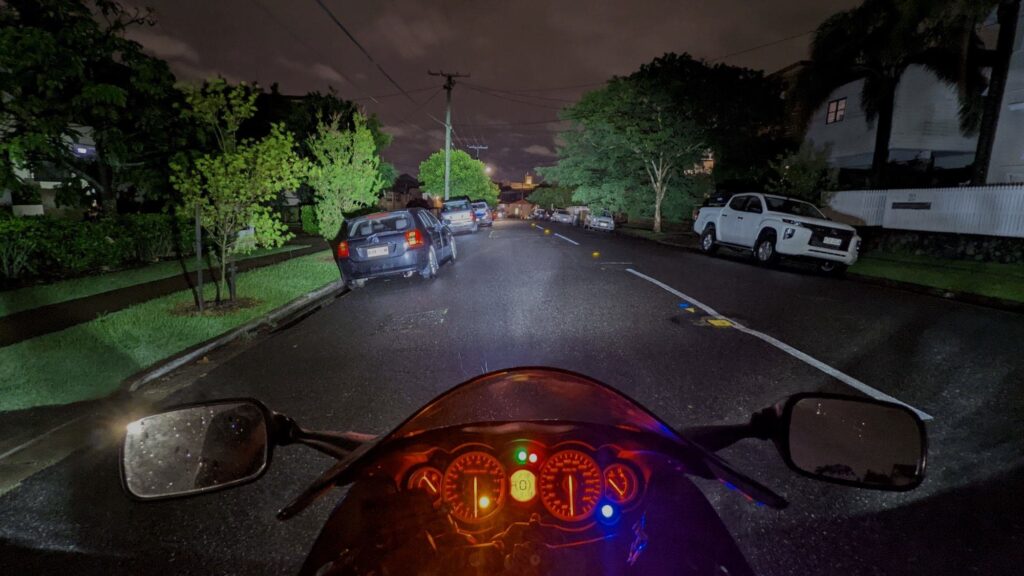 LED lights (high beam)
Note that there’s a difference in brightness level as well as color temperature. The color temperature of the lights I’m using is 6500K, which is “bright white”. This is different from the warmer color temperature of most filament bulbs.
Here’s how the finished product looks from the front.
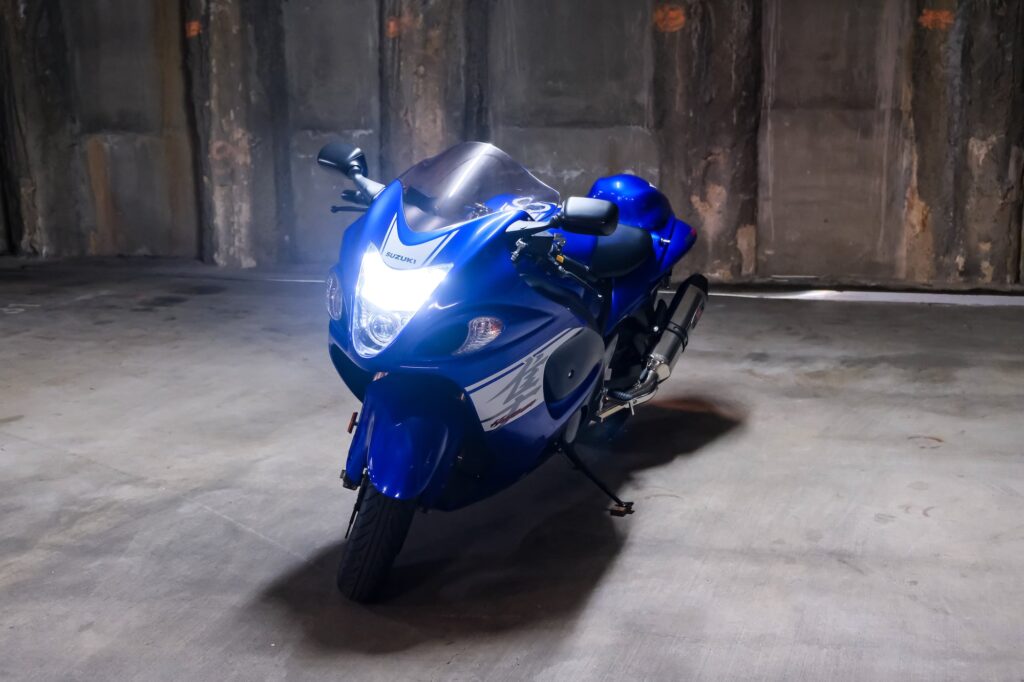
I haven’t converted the turn signals to LED. The reason for this is that in the past, I’ve seen little additional benefit (who cares if the turn signals are brighter), and annoying costs (having to install resistors or a different relay for the fast flicker problem, and so on). I also like the stock look of the ‘Busa’s integrated turn signals and would be loath to change it.
Note: Motofomo is reader-supported. If you buy some of the products that we link to, we may earn an affiliate commission, which otherwise goes to the marketplace (e.g. Amazon).
Are you obsessed with motorcycles?
Well, I am. That’s why I created this site — as an outlet. I love learning and sharing what others might find useful. If you like what you read here, and you’re a fraction as obsessed as I am, you might like to know when I’ve published more. (Check the latest for an idea of what you’ll see.)
Why change the Hayabusa’s headlights to LED? The standard ones are fine!
That’s true. You don’t have to do this. It’s not terribly high-priority.
But if you’re reading this, then you probably already want to…
The reason I did the Hayabusa LED light swap are (in order of priority)
- I like to do things with motorcycles (have you noticed?), and frankly look for excuses to do anything with them.
- Increased visibility by other motorists.
- I like bright lights, and do LED swaps on many of my vehicles (cars/bikes).
- Lower current draw, assuming you don’t get the brightest lights in the world.
- It’s an inexpensive mod, especially if I don’t buy fancy name-brand lights
- It provides more night-time lighting
- It’s more reliable, and reduces the (admittedly low) chance I’ll have to replace a bulb on the side of the road one day.
Numbers 1 and 2 are the top two. I really like the visibility of LED lights when I see other bikes with them (or even bicycles with a good light — very hard to miss, I appreciate that). Most of the others are vanity or just side benefits.
Night-time lighting is honestly low-priority for me. I rarely need lights for riding in the city. And I don’t ride at high speeds in the countryside at night because of animals. It just takes one kangaroo (or deer, moose, water buffalo, etc… truly the range of animals that people can hit on roads is diverse and fascinating!).
Many newer bikes have LED lights in integrated light units, even cheaper beginner low-capacity bikes. Even my 2014 Honda VFR800 had LED lights — just one more premium feature on an under-appreciated motorcycle.
What you need for the Hayabusa Gen 2 LED conversion
The Hayabusa LED conversion is very easy. I did the whole thing with tools from my tool roll.
These are what you need for the Gen 2 ‘Busa LED conversion.
You need
- Some long hex keys or a hex-bit screwdriver (for one tricky bolt!)
- A medium/small flat-head screwdriver (to pry off clips)
- Cloth to protect the fairing when you need to pry something with a screwdriver, and to protect the instrument cluster’s front when you’re unplugging it from the rear
- Magnetic tool (optional)
- 1 x H7 LED light (for the standard light)
- 1 x H9 LED light (for the high beam)
- 2 x T10 LED position lights
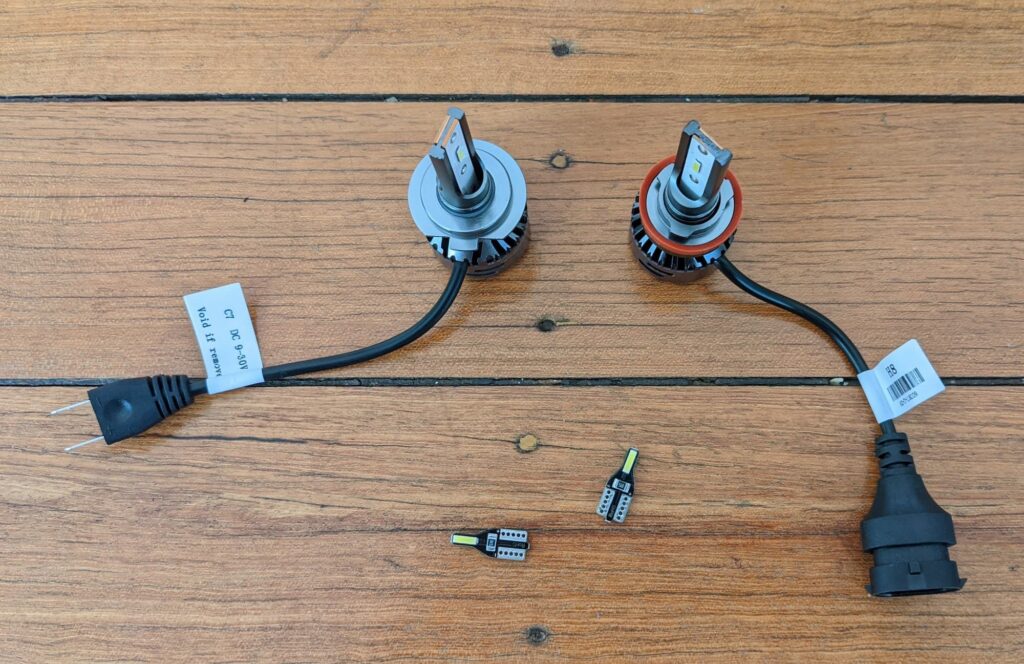
There are many suppliers of LED lights you can find on the internet. The products are very similar, but some have branding and marketing which jacks up the price.
I chose “Auxito” brand lights for the headlight and parking light. But there are many decent brands on eBay. The ones that don’t have a strong brand are cheaper, and they’re the same product as the ones with a fancy brand and packaging. (I don’t mind spending, but not when it feels silly to do so.)
- H7 LED lights
- H9 LED lights
- T10 LED position lights (you need two) — these are also known as Type 194 LED lights
Sometimes you can only buy the H7 or H9 lights in pairs. If so, keep a backup (or give one to a friend!)
And T10 lights often come in packs of ten. But they’re cheap (around US$10 a pack of 10). Prepare to make even more friends!
Note that H9 lights often are marketed as H8 / H9 / H11 lights. The difference isn’t relevant when you’re buying LED. (H11 has a slightly different mounting plate, but they’re very similar.)
You can also buy other brands, of course. I’d choose ones that have a built-in fan.
Installation of Suzuki Hayabusa LED lights in a nutshell
Installing the LED lights on the Hayabusa is much like the manual — but with a couple of tips and tricks.
The whole thing should take you less than 1 hour assuming you have your tools laid out. That 1 hour includes all the swearing, double checking, and trying to figure out why your push pin doesn’t work, then putting it back together. In reality, it should take someone who has done it a few times less than 15 minutes.
Some of the images below are from the manual, and some are of my own motorcycle.
To get to the Suzuki Hayabusa’s headlights, you have to remove the gauge cluster. This is a little scary the first time you do it… but it’s not hard, and you won’t break anything unless your cables and connectors are about to break anyway.
Make sure you use a cloth so you keep it unscratched as you remove the connector.
Remove the instrument panel
First, remove the instrument panel. Do this by sitting on the bike, facing the gauge cluster.
You have to remove the instrument panel to get access to the lower bulb. There’s no two ways about it.
- Remove the three bolts and two fasteners around the top and bottom instrument panel. There are
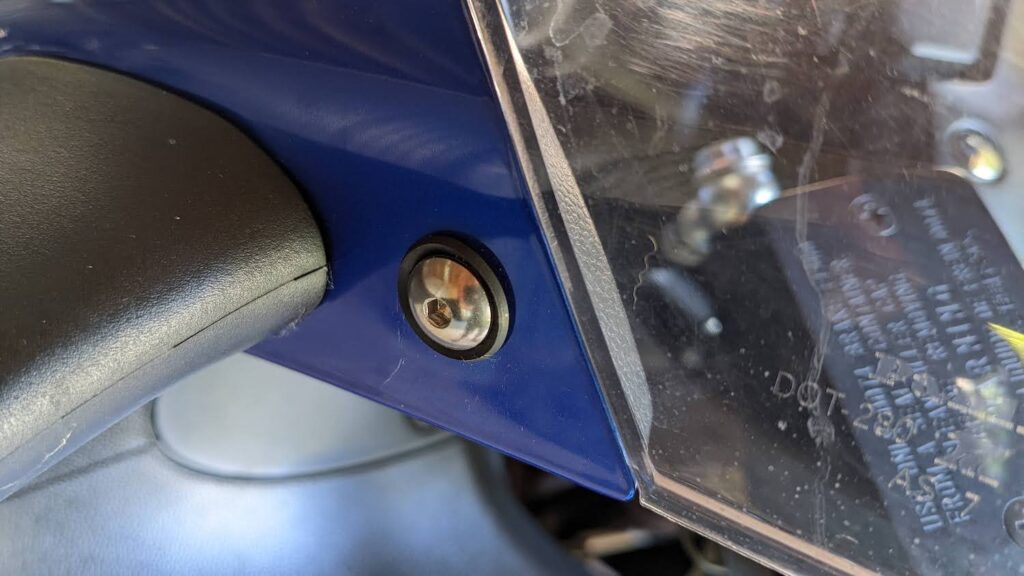
- Two hex bolts on the outside top, near the mirrors
- Two fasteners just inside there
- Two fasteners on the inside lower
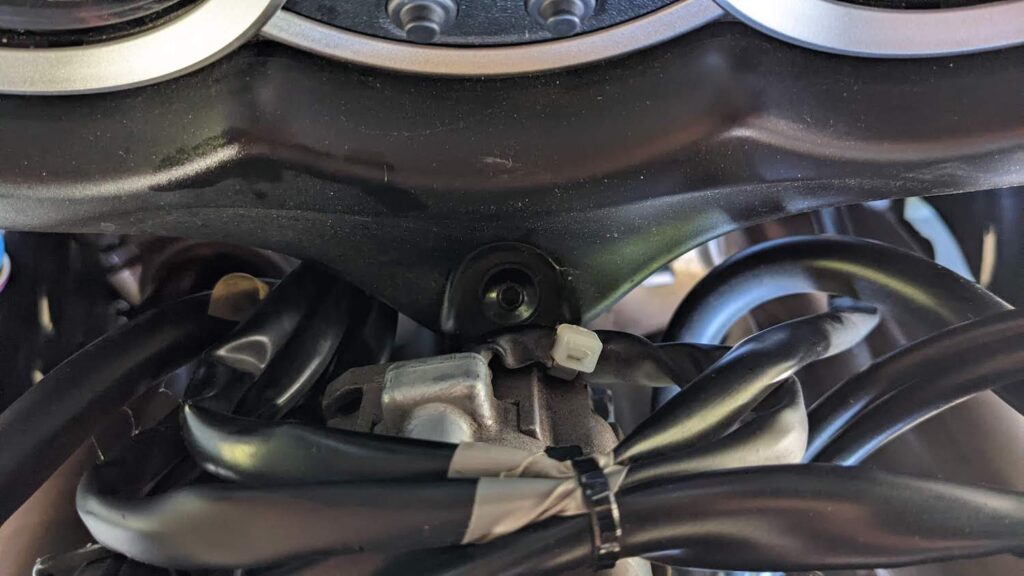
- One hex bolt that’s down in the middle at the bottom.
- Remove the top and lower panels surrounding the instrument cluster. You have to undo it off the hooks that snap it in place.
- Now the instrument panel is exposed. Remove the two bolts on the bottom left and right.
- Lift the instrument panel.
- Disconnect the coupler to the instrument panel (slide the rubber boot back, and push the bottom tab on the back of the plug vertically up – see pic below), and remove the instrument panel. Throw it out, you don’t need it! (j/k store it somewhere safely)
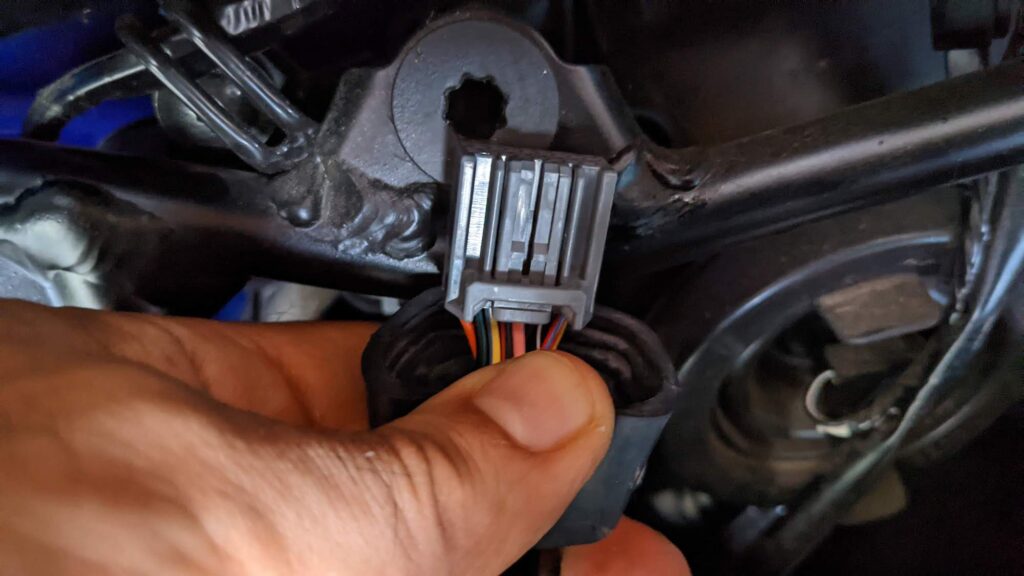
Now the light bulbs are exposed, and you can replace them.
Replace the bulbs
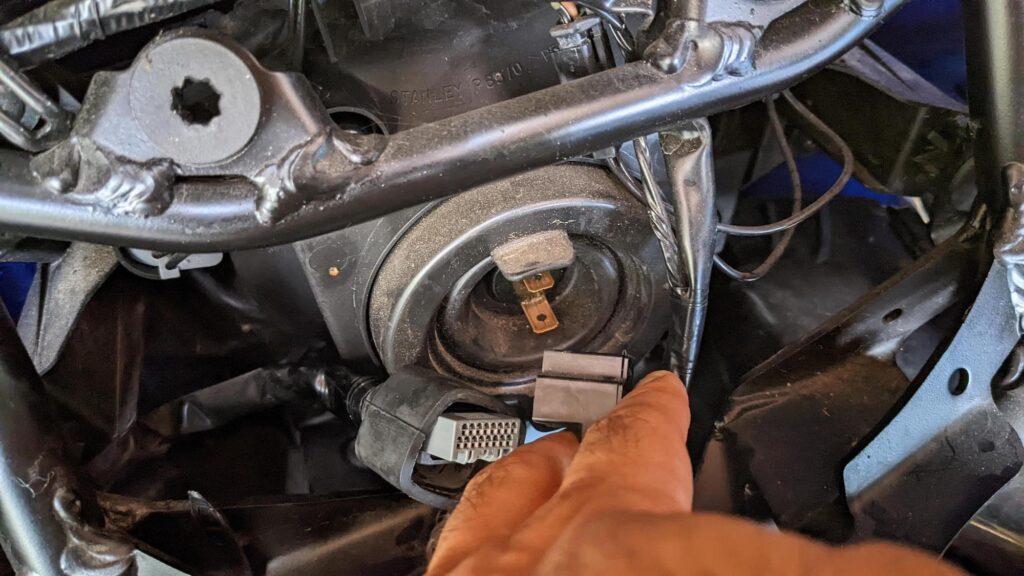
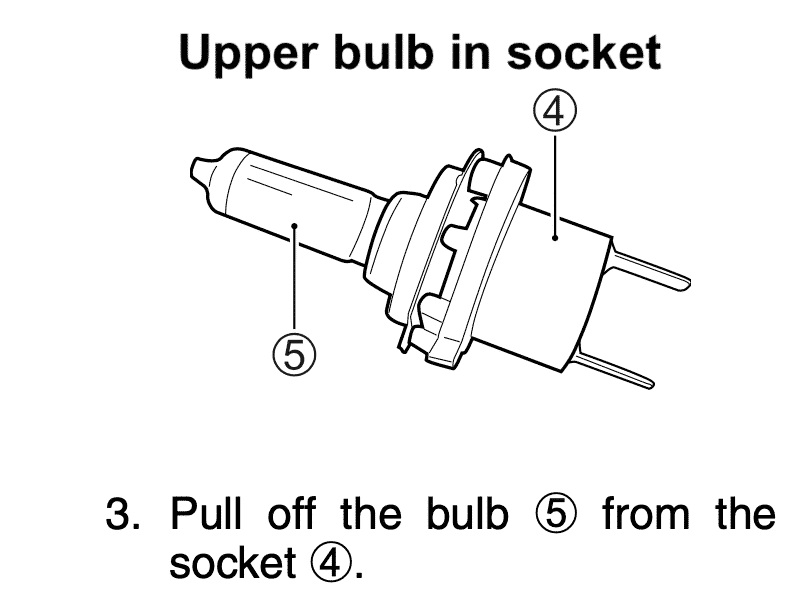
For the upper bulb:
- Disconnect the wired socket from the bulb holder.
- Remove the rubber cap surrounding the whole thing. (Remember to put this back later. It helps with water- and dust-proofing.)
- Unhook the bulb holder spring
- Pull out the bulb socket
- Remove the bulb from the holder’s socket. This is an important step. You might otherwise think the new bulb doesn’t fit.
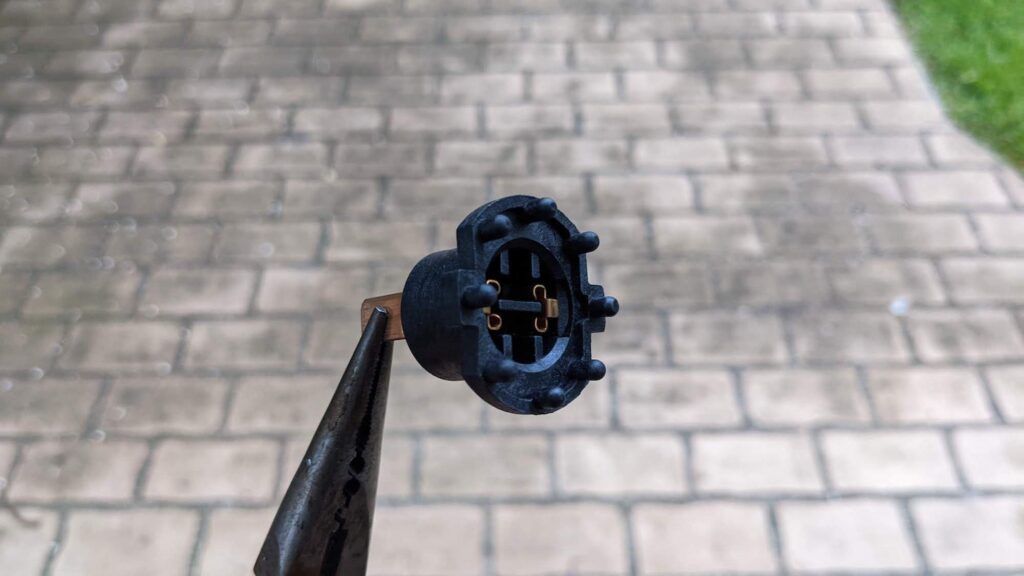
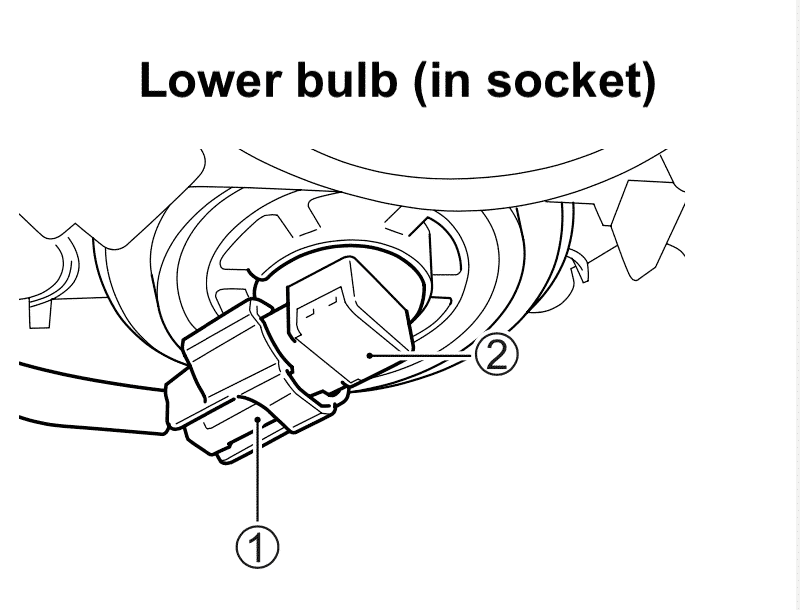
For the lower bulb, there’s not much room. You need to get your hand in at a weird angle just to get down there.
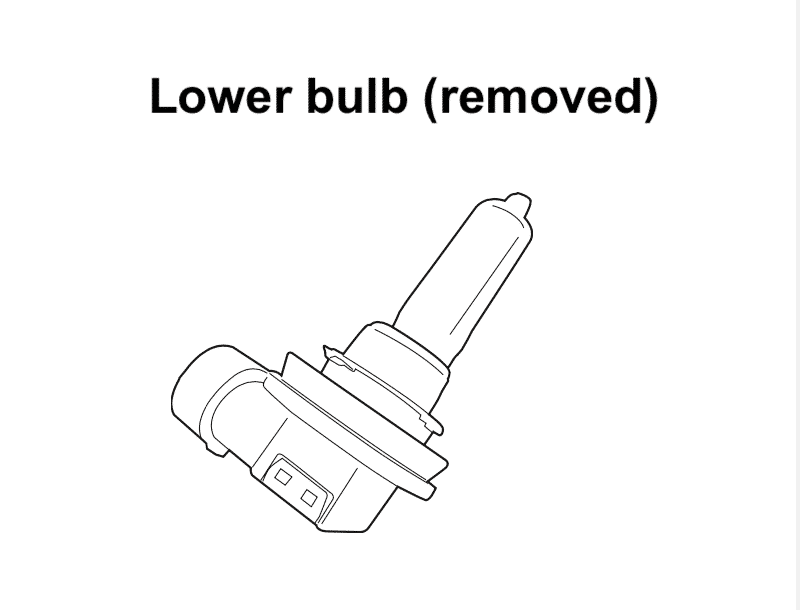
- Turn the bulb counterclockwise and remove it. I found it easier to remove the bulb first.
- Disconnect the coupler.
You can now put the new bulbs in place! Do the bottom bulb first. Once you do the top bulb,
Note:
- The upper bulb (in the bigger reflector) is the standard beam. That takes the H7 bulb.
- The lower bulb (in the more compact reflector) is the high beam. That takes the H9 bulb.
Some unexpected hard bits / FAQ about the LED conversion
Every simple DIY job has some unexpected hard bits that have me sweating or googling.
Below are some of the things that were a little tricky with the removal and reinstallation of LED bulbs in the Hayabusa.
- Re-inserting push pins — you may find that a push pin doesn’t sit properly. If so, a) did you reset the push pin (with it out, pussing the end back in, so it becomes “fat” again)? And b) are you using the right push pin for the right hole? Double check.
- Top gauge cluster cover — this was really fiddly to remove. Some guides say to gently tug at it. I used a flat-head screwdriver to pry open the tab holes one at a time.
- Access to the headlight bulb in the bottom — make sure you change the bottom bulb first, or it’s too hard to fit your hand around the wiring/rubber boot of the top bulb. The manual says to remove the plug first, but I found it easier to remove the light first by rotating.
- Metal clip around the top bulb — this thing bedevilled me. The clip holds the bulb in place. But it took pliers, a screwdriver, and a lot of sweating to get it back in position.
- Lights don’t turn on — some LED bulbs have reverse polarity protection, but don’t work either way. Switch around the plug and try again! There is a low chance your bulbs are faulty, but in my case it was the reverse polarity (on both of them, dang it).
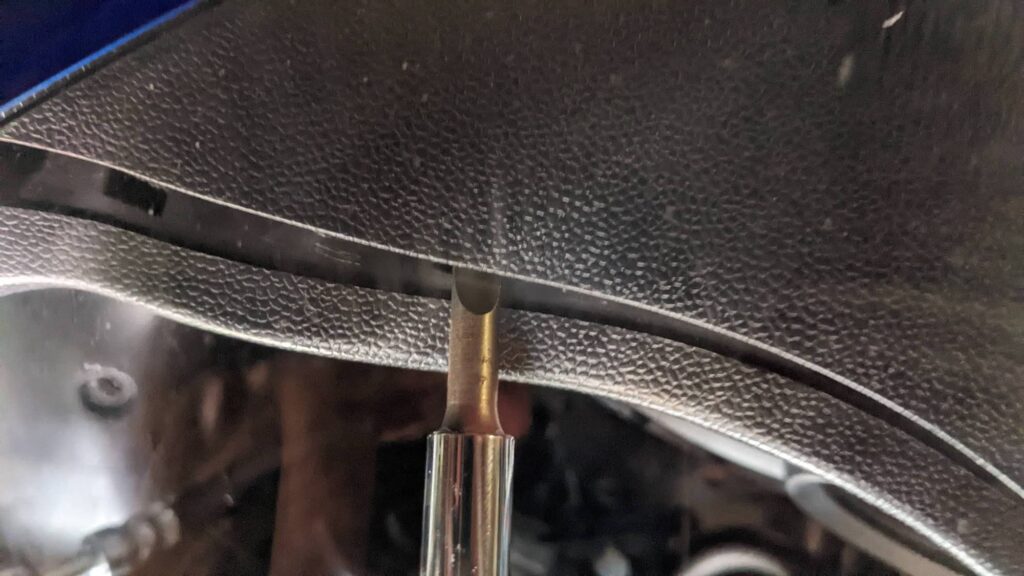
Replace the position lights
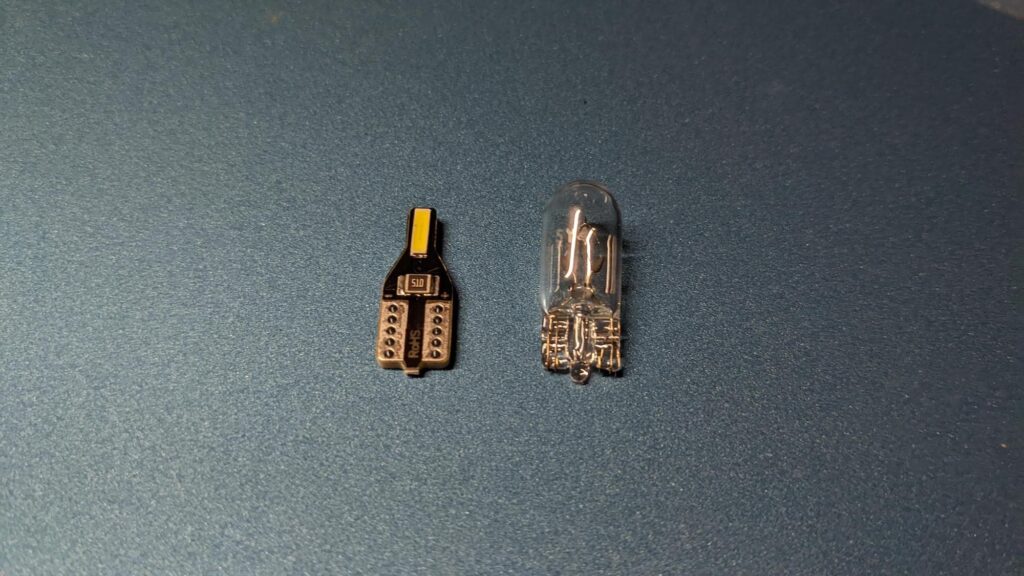
While you’re in there, replace the 5W position lights with some LED units too.
If you don’t, the existing filament-style LED lights have a lower colour temperature. This means they have an orange tinge that is different to the headlight colour. I’m not even very fussy with aesthetics, but it bugged me.
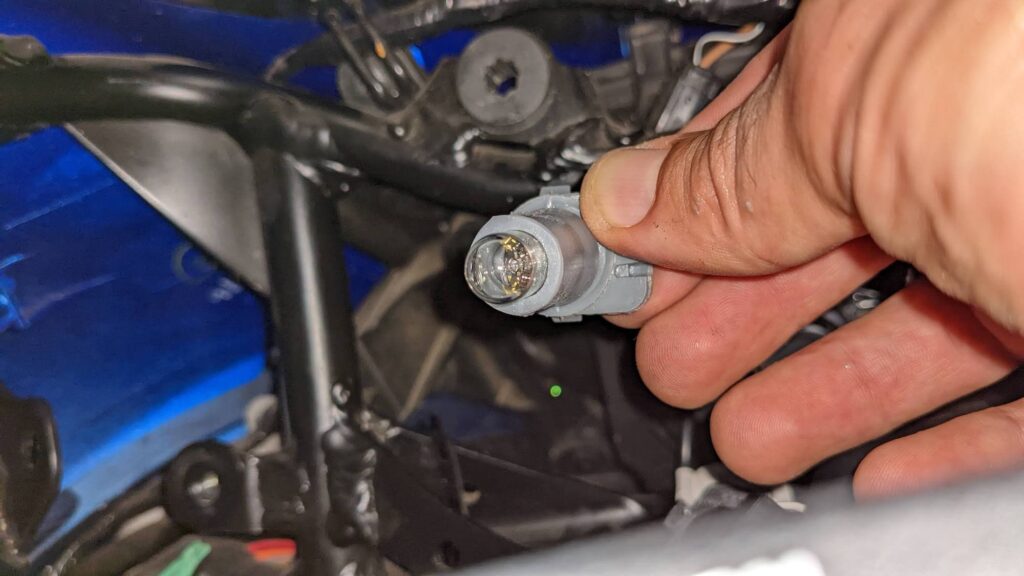
The position lights are just small bulbs. They sit in rubber sockets. You pull the rubber socket out — it is just a pressure fit without any clips or screws.
Once you pull it out, take the filament bulb out, put in an LED light, and you’re done.
The final product
Here’s another photo of the final product.
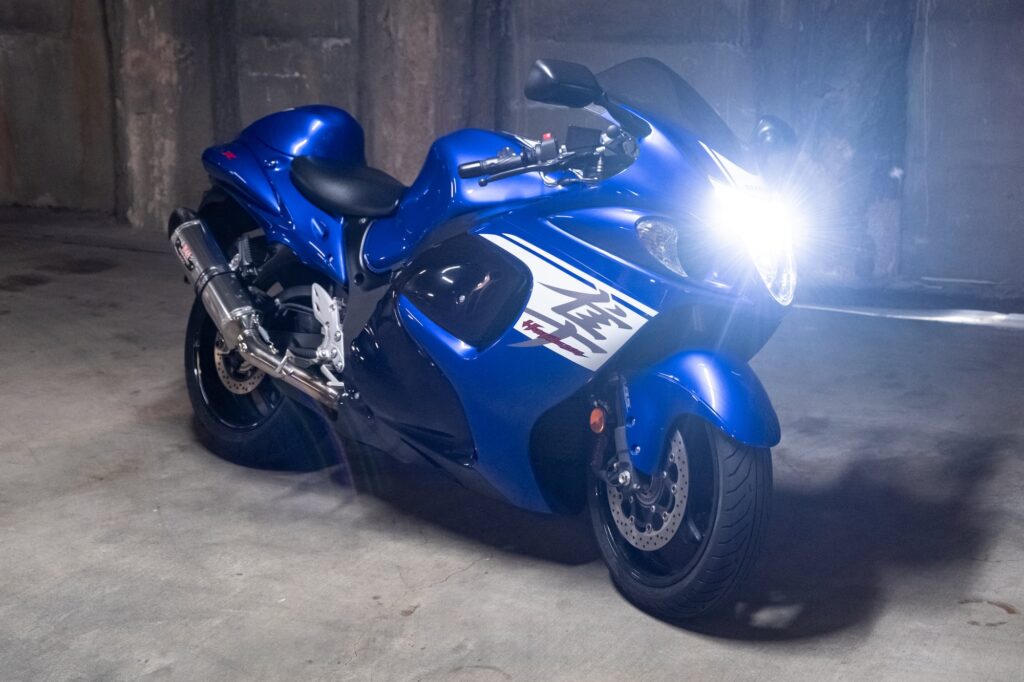
If you think “Ye gods, that’s bright!” — Don’t worry. It’s just the effect of trying to take a photo of the headlight with the bike visible as well, rather than in darkness.
But it is bright (just not ridiculously so) and a nice, modern white.


You should really add that a adapter is needed to properly install the H7.
Not sure what you mean — what adapter? Where did you put an adapter? I’ve read of some people who thought they needed one because they didn’t remove the bulb from the holder’s socket, is that what you’re referring to? Happy to include your details as there are a few variations of bulbs you buy online.
Thanks for all the information, but the Amazon links don’t work
Thanks for letting me know. I updated them to links that work. Amazon just changes the links every now and then as sellers come and go… D’oh.